
Raspberry Pi Zero W – Wireless Router with VPN
If you want to keep your privacy and safety when browsing on the internet in a café or if you want to avoid region based content restrictions.
(Hungarian version link)
Prerequisites
- Raspberry Pi Zero W (link)
- USB WiFi adapter (link)
- One old USB cable
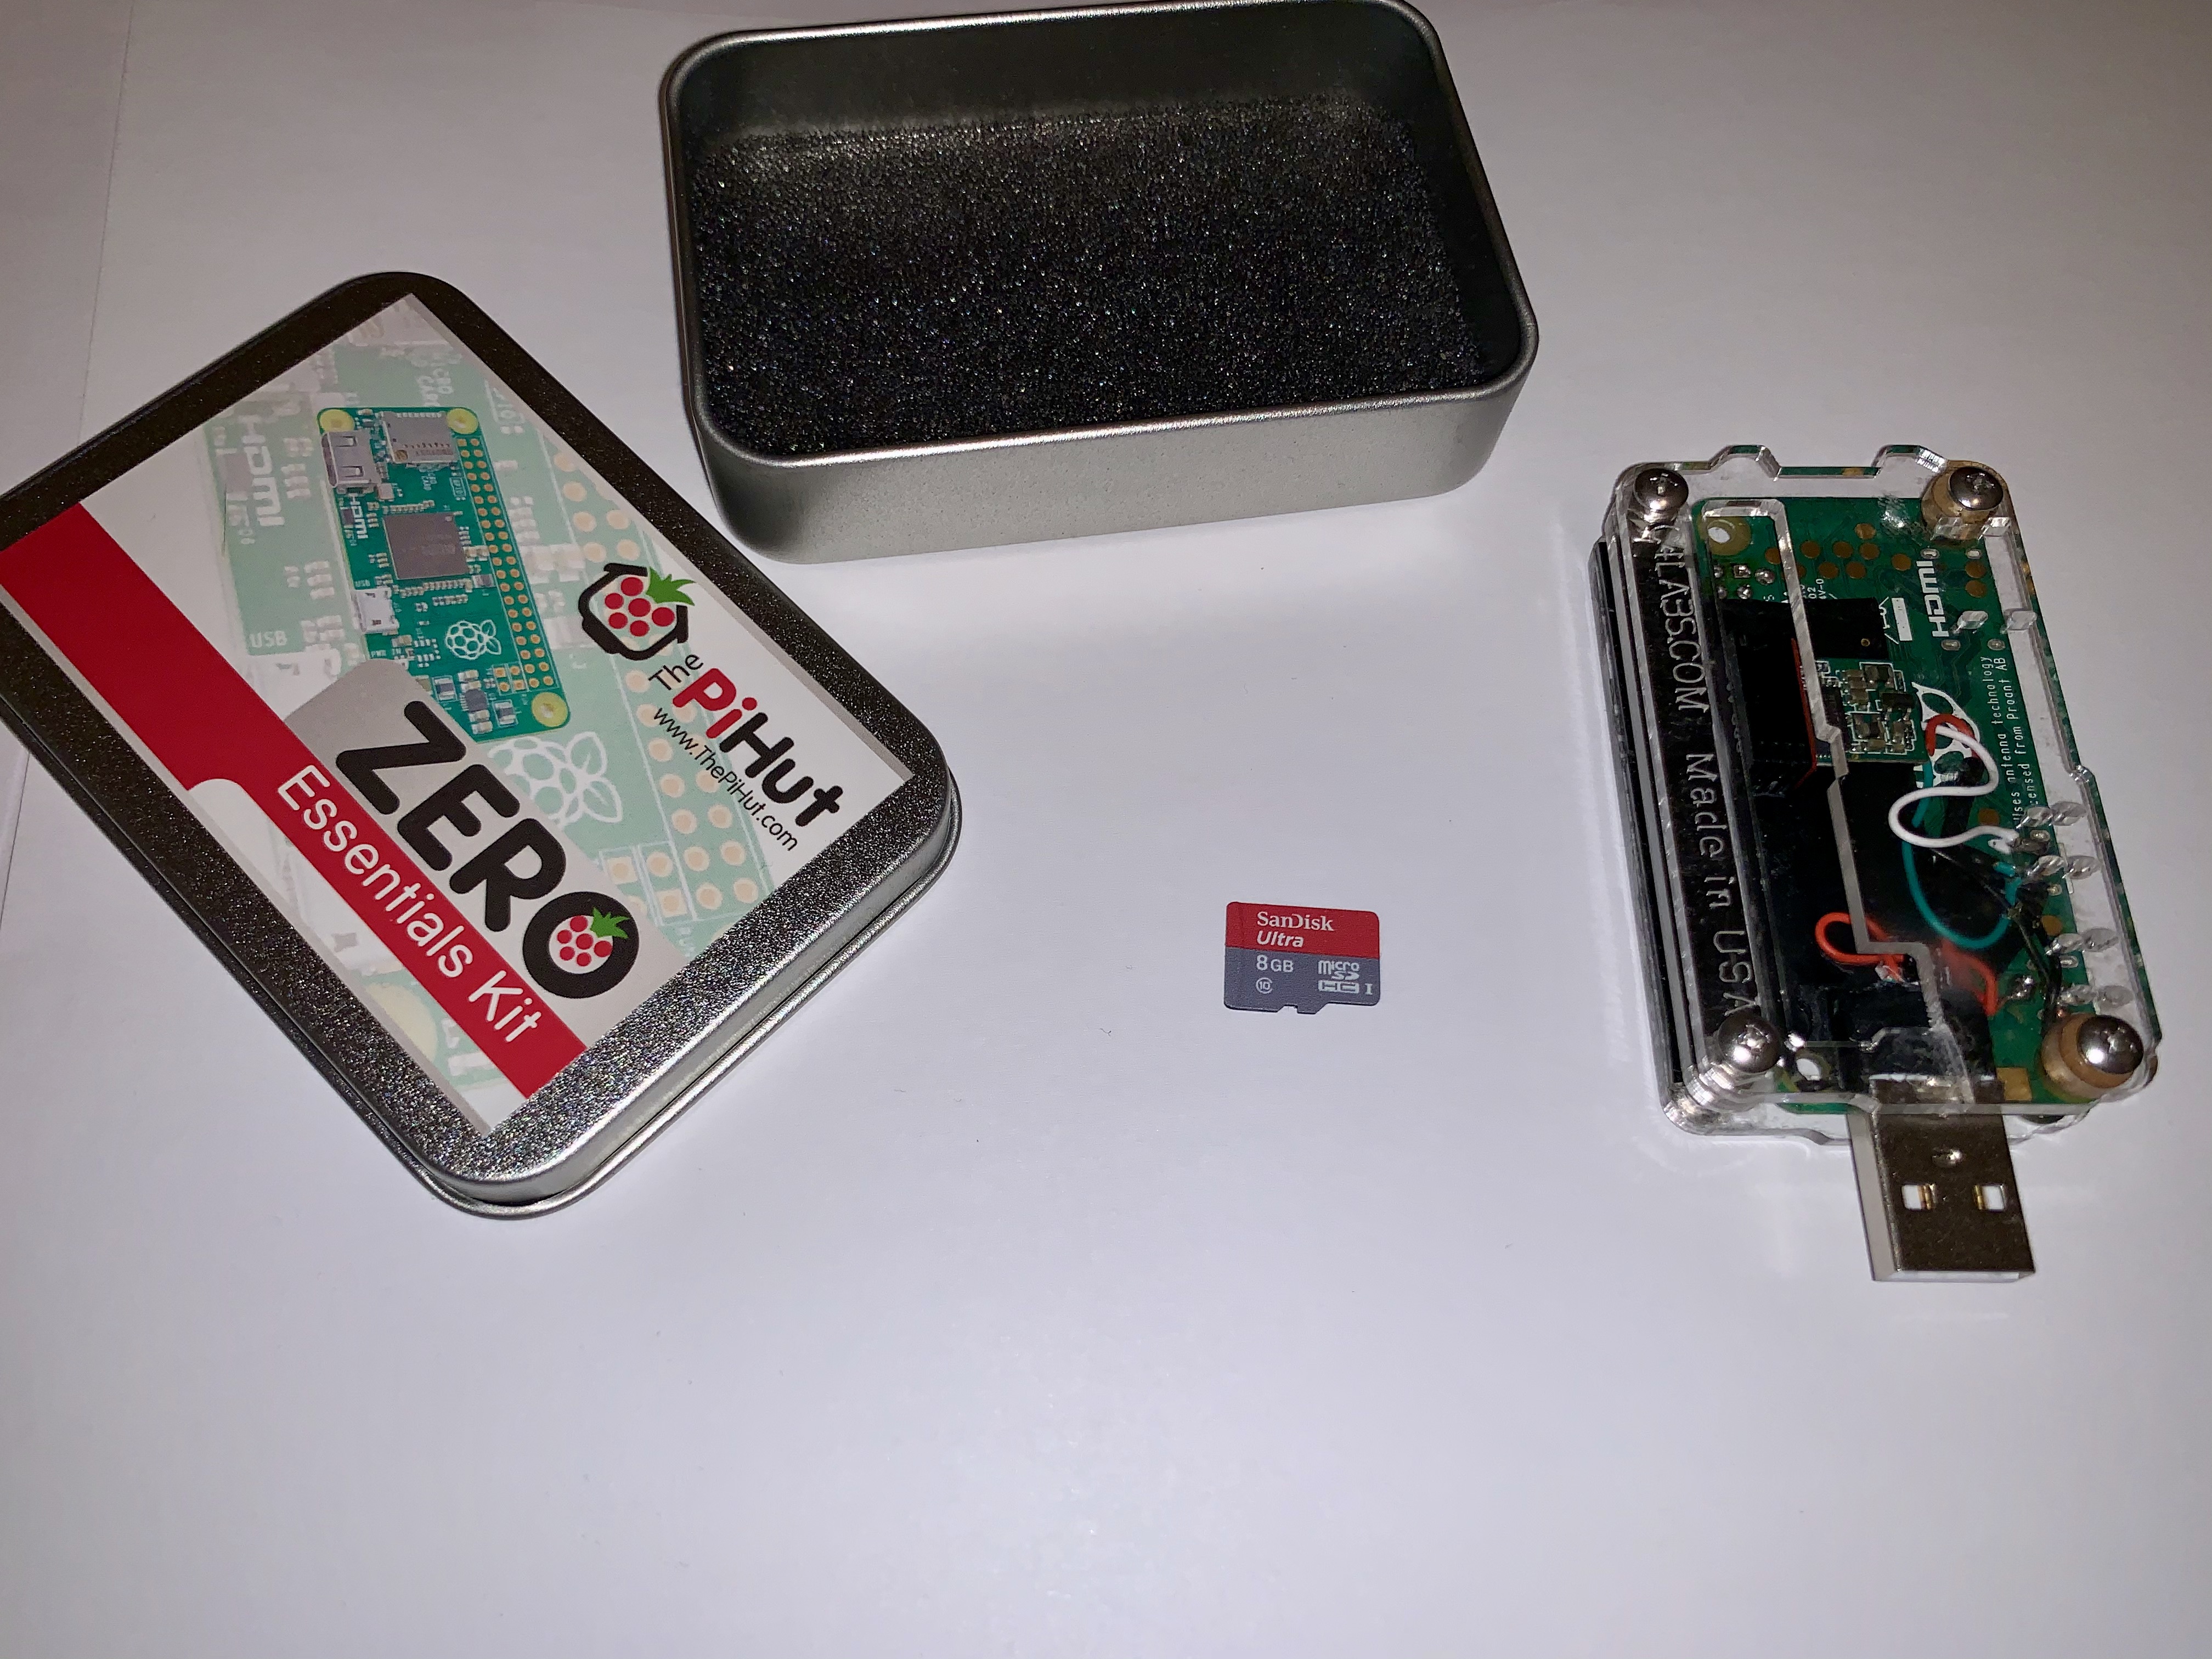
- Micro sd card class 10 (I used 8 GB SanDisk ultra)
- Raspberry Pi Zero Case (link)
- Raspbian Buster with desktop (link)
1. Copy the rasbian image to sd card:
Mac: https://www.raspberrypi.org/documentation/installation/installing-images/mac.md
Windows: https://www.raspberrypi.org/documentation/installation/installing-images/windows.md
2. Install packages:
sudo apt–get update && sudo apt–get upgrade –y
sudo apt–get install hostapd dnsmasq –y
DHCP Configuration
3. Static IP address for wlan1:
sudo nano /etc/dhcpcd.conf
Copy at the end of the file:
interface wlan1
static ip_address=192.168.111.254/24
nohook wpa_supplicant
denyinterfaces wlan1
4. IP range for wlan1:
Create a backup file:
sudo mv /etc/dnsmasq.conf /etc/dnsmasq.conf.default
Create a new file:
sudo nano /etc/dnsmasq.conf
Copy this to new file:
interface=wlan1
dhcp–range=192.168.111.1,192.168.111.20,255.255.255.0,24h
Configuring a Wireless Access Point
5. Configure hostapd:
sudo nano /etc/hostapd/hostapd.conf
Copy this to the file:
interface=wlan1
hw_mode=g
channel=1
wmm_enabled=0
macaddr_acl=0
auth_algs=1
ignore_broadcast_ssid=0
wpa=2
wpa_key_mgmt=WPA-PSK
wpa_pairwise=TKIP
rsn_pairwise=CCMP
ssid=PrivateVpn
wpa_passphrase=12345678910
ieee80211n=1
sudo nano /etc/default/hostapd
change this line:
DAEMON_CONF=“” to DAEMON_CONF=“/etc/hostapd/hostapd.conf”
Enable and start hostapd:
sudo systemctl unmask hostapd.service
sudo systemctl enable hostapd.service
sudo systemctl start hostapd.service
6. Enabling traffic forwarding and forwarding rule configuration:
sudo nano /etc/sysctl.conf
Uncomment this line:
#net.ipv4.ip_forward=1
sudo iptables –t nat –A POSTROUTING –o wlan0 –j MASQUERADE
sudo iptables –A FORWARD –m conntrack —ctstate RELATED,ESTABLISHED –j ACCEPT
sudo iptables –A FORWARD –i wlan1 –o wlan0 –j ACCEPT
sudo sh –c “iptables-save > /etc/iptables.ipv4.nat”
sudo nano /etc/rc.local
Add this line above “exit 0”:
iptables–restore < /etc/iptables.ipv4.nat
7. Set wifi network for wlan0:
sudo nano /etc/wpa_supplicant/wpa_supplicant.conf
Copy this to the file:
ctrl_interface=DIR=/var/run/wpa_supplicant GROUP=netdev
update_config=1
country=HU #set your country
network={
ssid=”home_wifi”
psk=”passwd”
id_str=”home”
}
network={
ssid=”work_wifi”
scan_ssid=1 #if SSID is hidden
psk=”passwd”
id_str=”work”
}
Configuring a VPN Surfshark
If you sign in with Android or IOS app you can try with 7 days free trial
8. After registration (!) login to website:
https://account.surfshark.com/login
and go to
https://account.surfshark.com/setup/manual
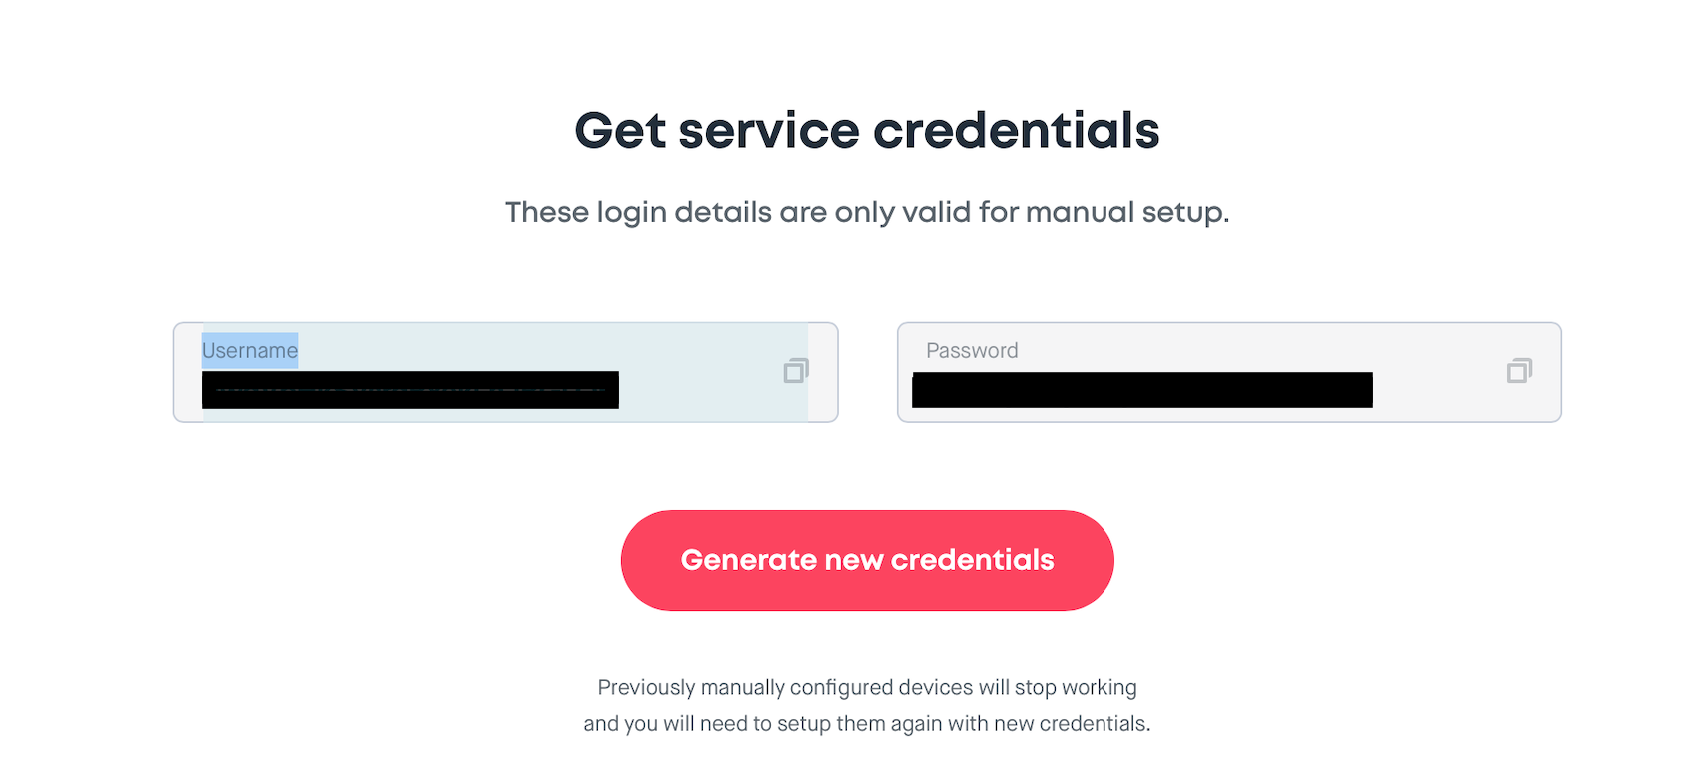
at the bottom of the page:
Get service credentials
These login details are only valid for manual setup:
9. How to set up OpenVPN using Linux Terminal:
(it is from here https://support.surfshark.com/hc/en-us/articles/360011051133-How-to-set-up-OpenVPN-using-Linux-Terminal)
- Install the necessary packages by entering the command:
sudo apt-get install openvpn unzip- If you are requested to enter your password, please enter your computer’s admin password.
- Navigate to OpenVPN directory by entering:
cd /etc/openvpn
- Download Surfshark OpenVPN configuration files:
sudo wget https://account.surfshark.com/api/v1/server/configurations
- Extract `configurations.zip`:
sudo unzip configurations
- Remove the .zip file which will not be used:
sudo rm configurations
- To see the list of all the available servers enter:
ls
- Choose one of the servers from the servers list and connect to Surfshark by entering:
sudo openvpn [file name]
For example:sudo openvpn us-dal.prod.surfshark.com_udp.ovpnsudo openvpn /etc/openvpn/us-dal.prod.surfshark.com_udp.ovpn
10. Enabling traffic forwarding and forwarding rule configuration with VPN:
sudo nano /etc/sysctl.conf
Uncomment this line:
#net.ipv4.ip_forward=1
sudo iptables -t nat -A POSTROUTING -o tun0 -j MASQUERADE
sudo iptables -A FORWARD -i wlan1 -o tun0 -j ACCEPT
sudo iptables -A FORWARD -i tun0 -o wlan1 -m state –state RELATED,ESTABLISHED -j ACCEPT
sudo sh -c “iptables-save > /etc/iptables.restore”
echo “up iptables-restore < /etc/iptables.restore” | sudo tee –append /etc/network/interfaces
Create file for authentication:
sudo nano /etc/openvpn/auth.txt
Add username and password:
useassdasdasd
passsdsaddsas
Run OpenVPN and connect example to USA:
sudo openvpn –config “/etc/openvpn/us-dal.prod.surfshark.com_udp.ovpn” –auth-user-pass “/etc/openvpn/auth.txt”
And if “Initialization Sequence Completed” you can using and test on https://whatismycountry.com
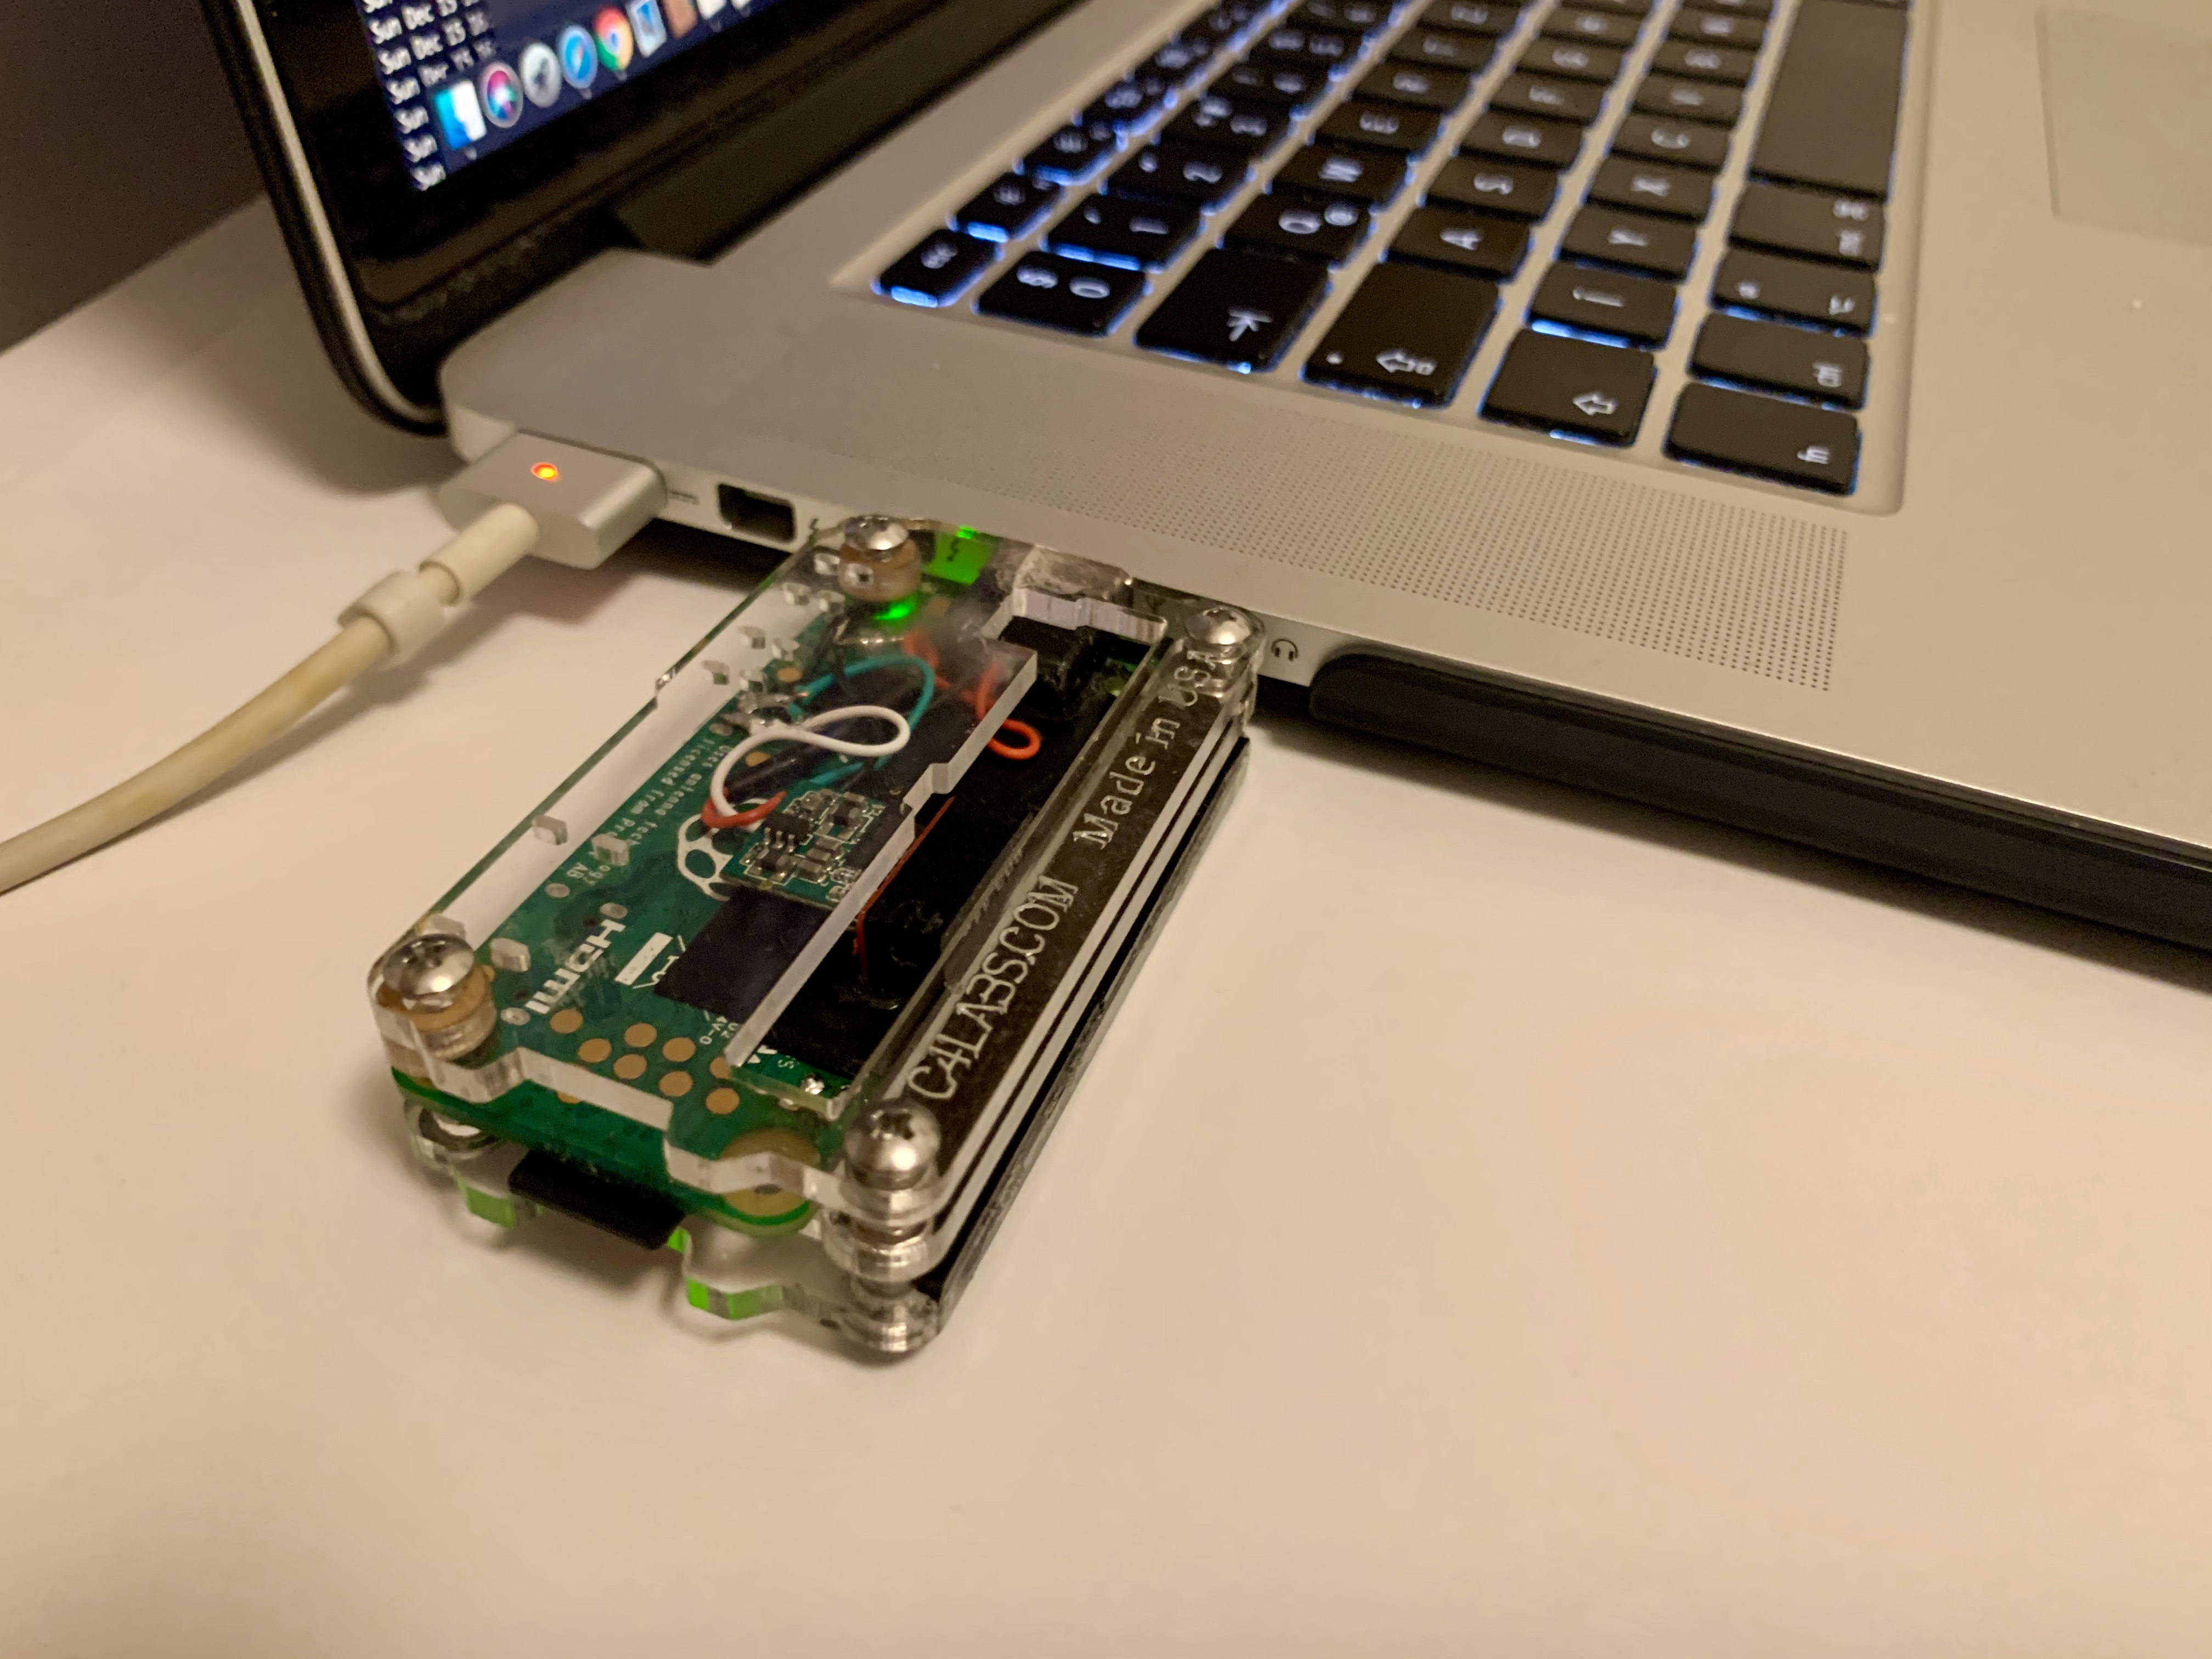
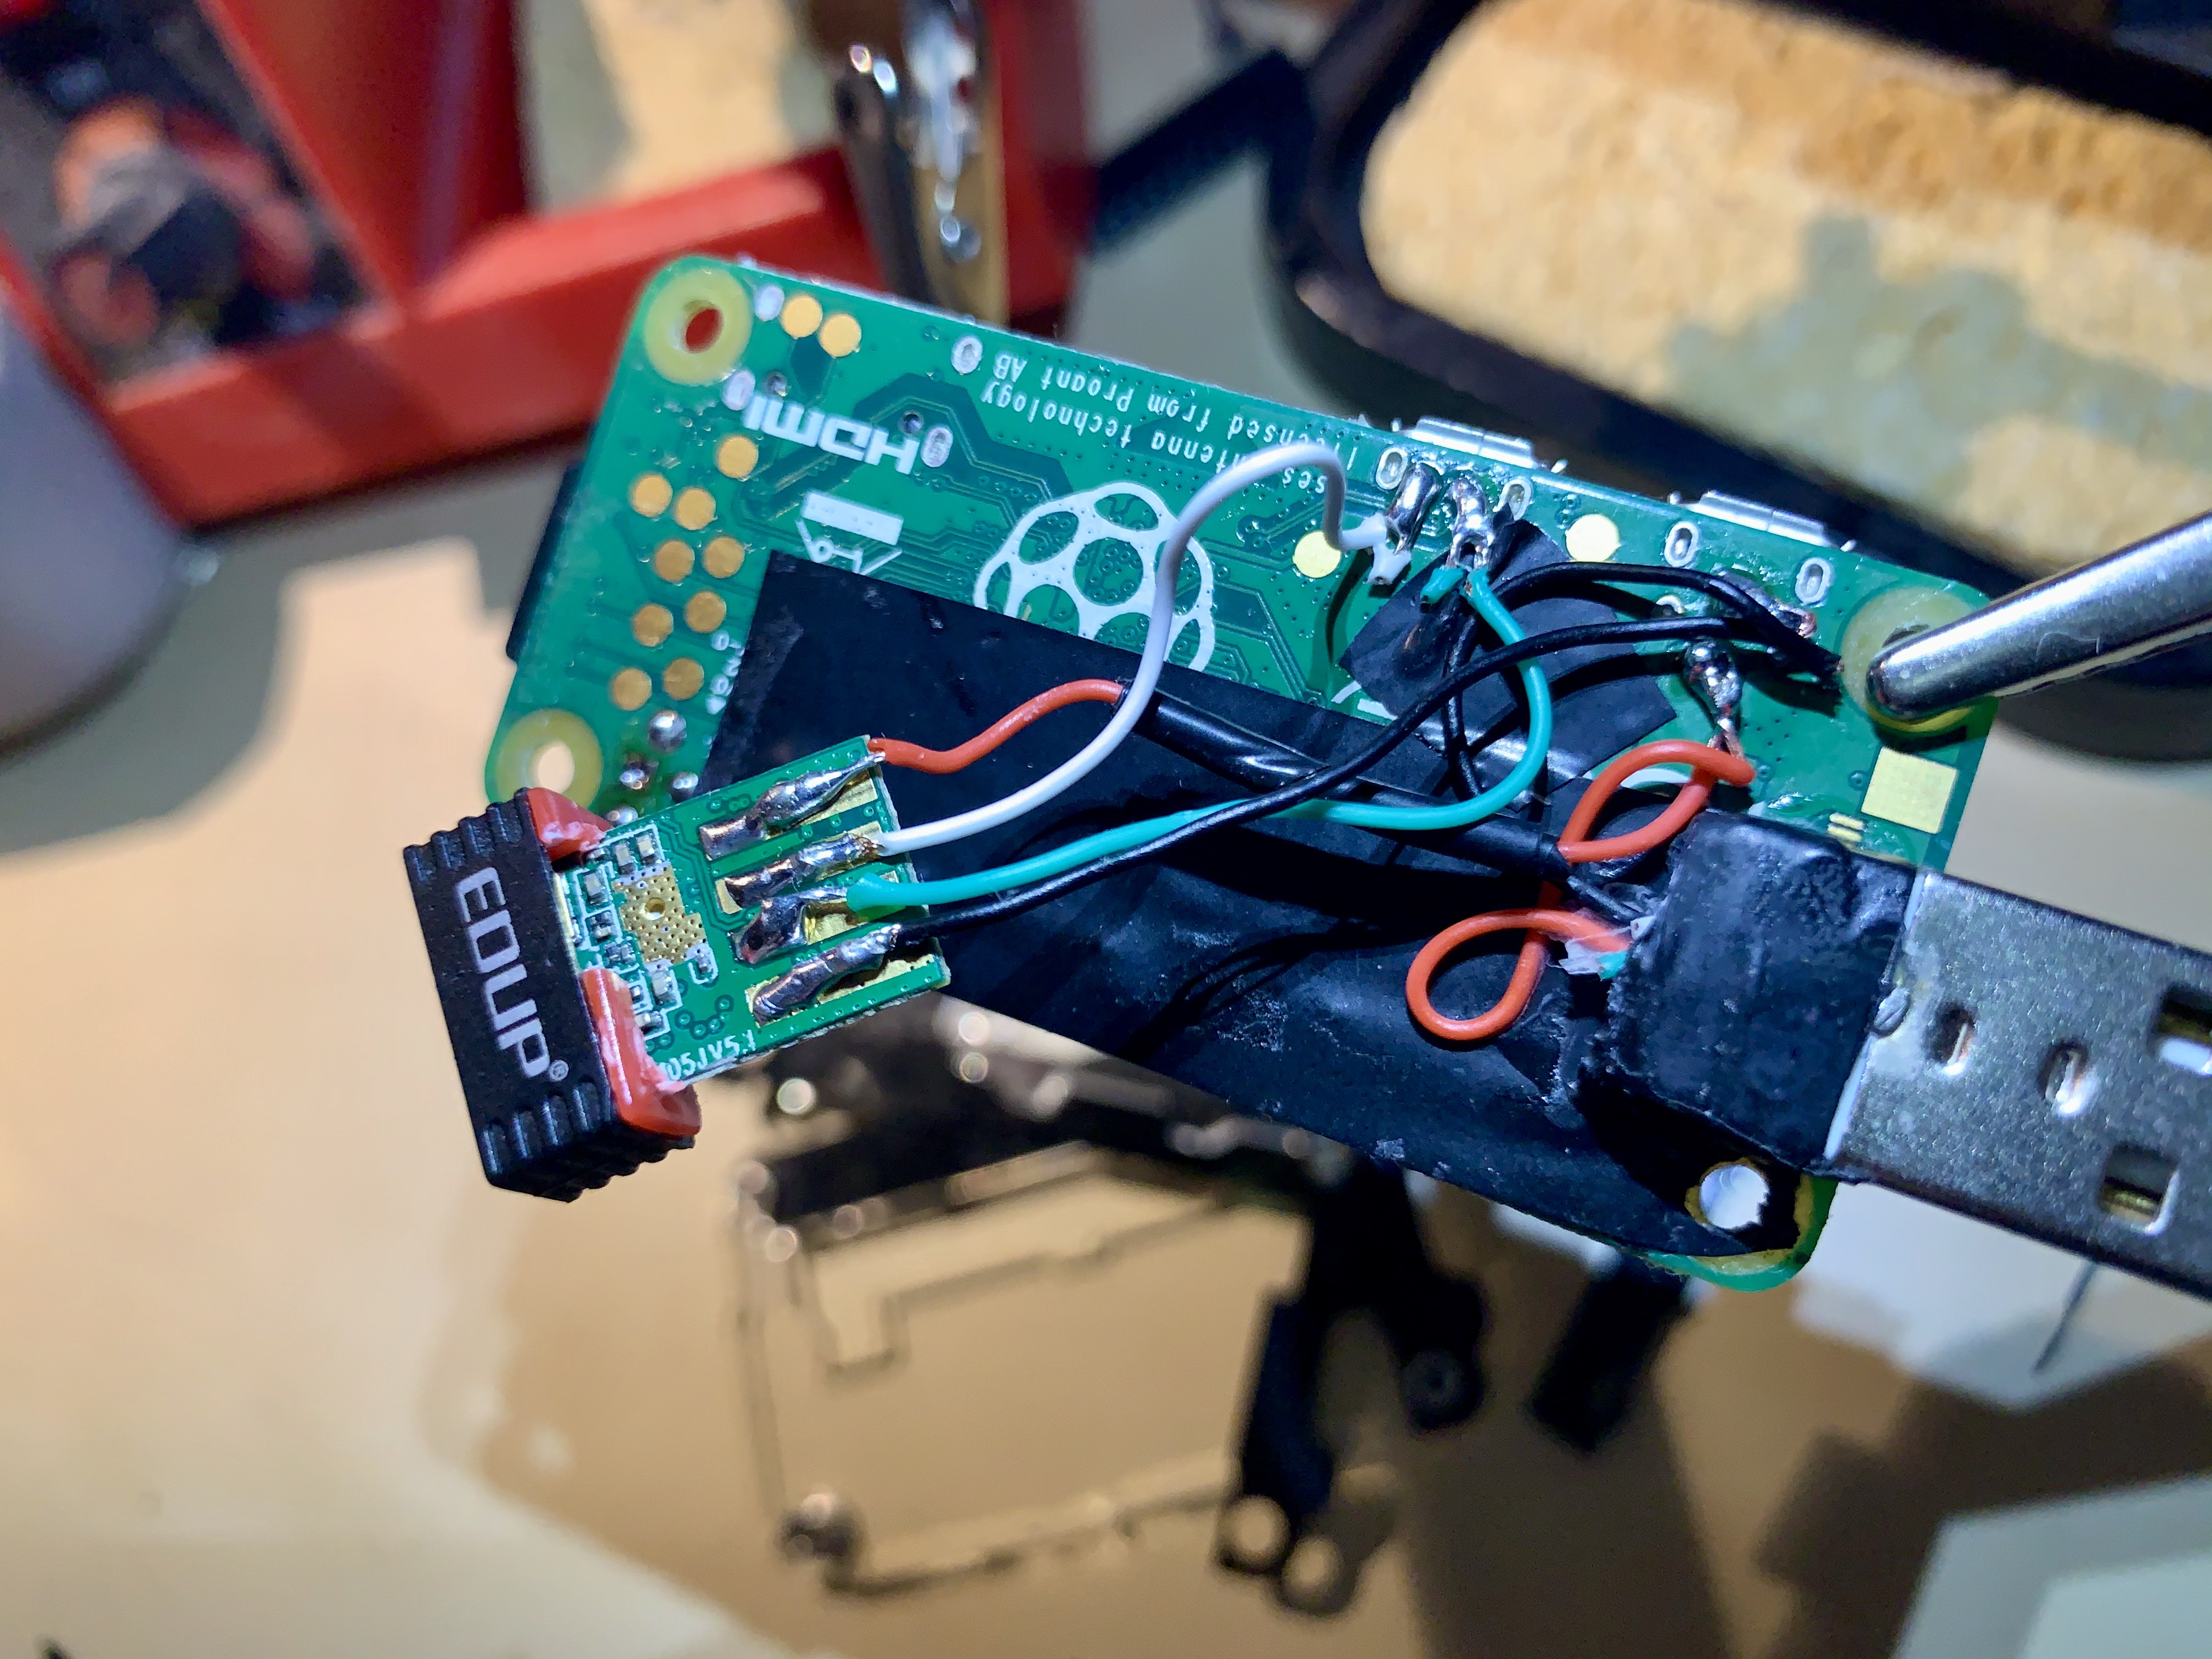
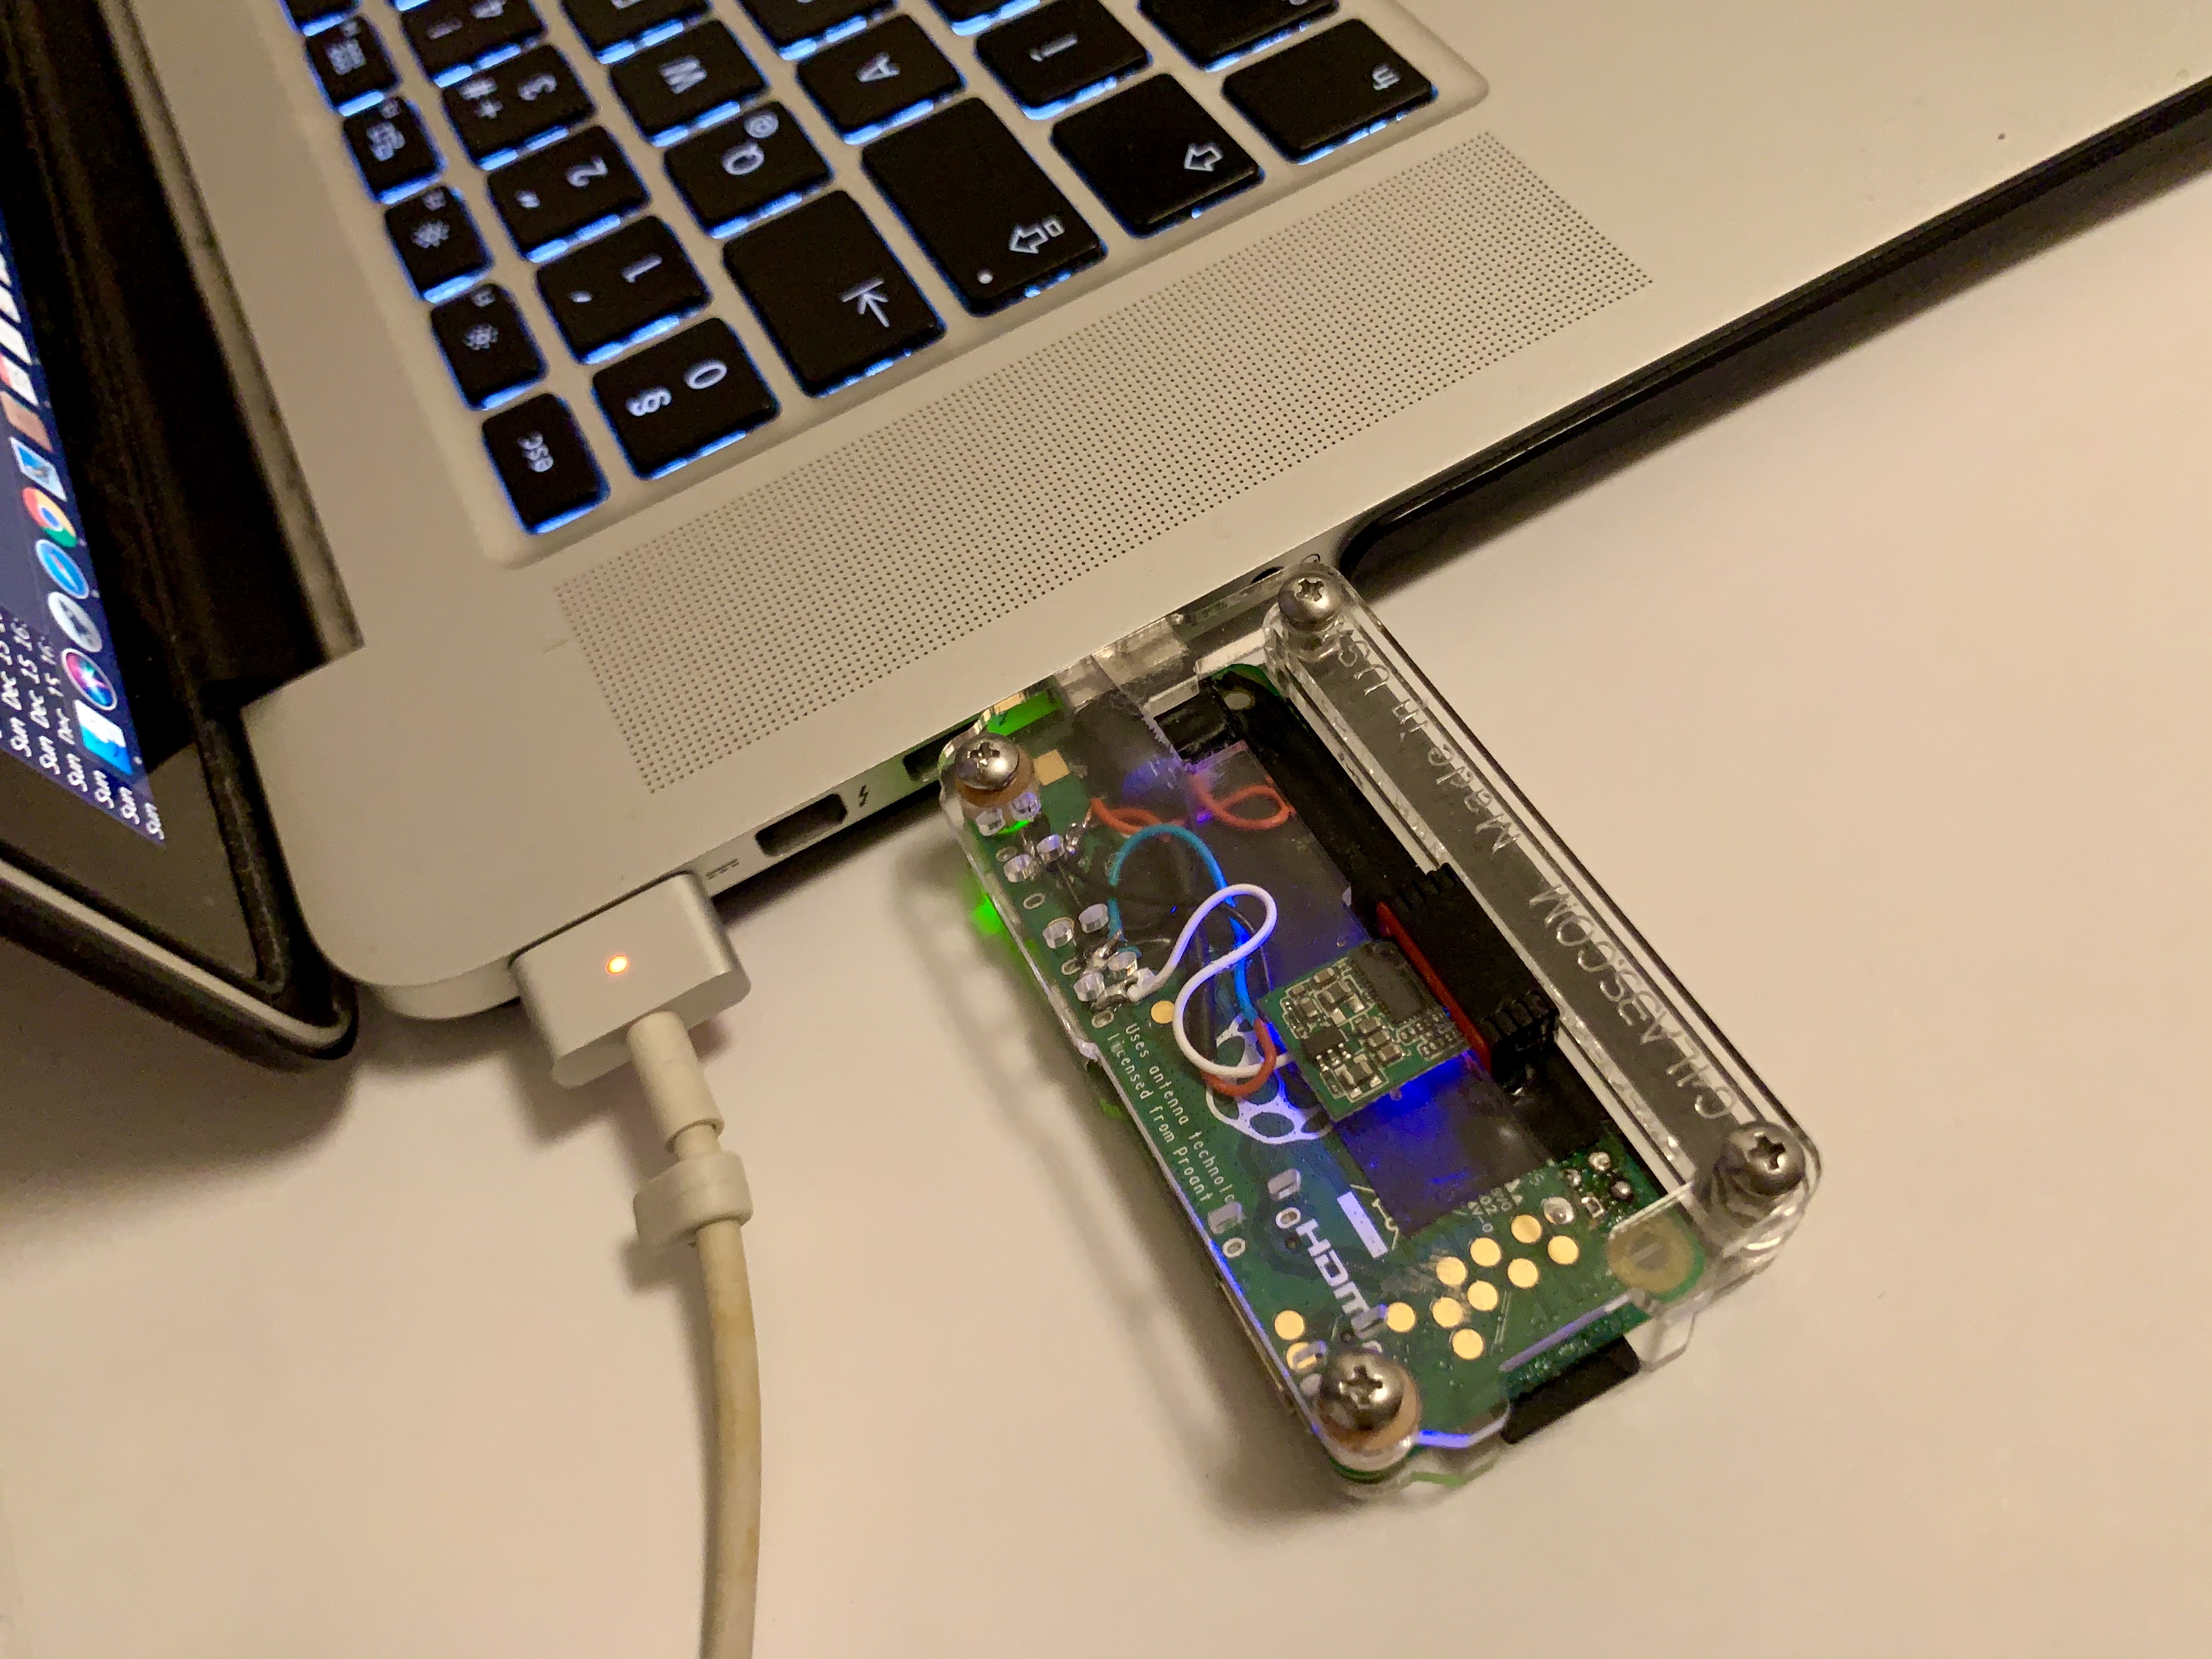
Raspberry Pi Zero W build with USB WIFI adapter and with USB

References:
https://www.raspberrypi.org/documentation/configuration/wireless/access-point.md
https://www.instructables.com/id/Use-Raspberry-Pi-3-As-Router/
https://www.raspberrypi.org/documentation/configuration/tcpip/README.md
https://www.raspberrypi.org/documentation/installation/installing-images/mac.md
https://www.raspberrypi.org/documentation/installation/installing-images/windows.md
https://support.surfshark.com/

Hello,
sorry, but with this new Buster-Version “2020-08-20-raspios-buster-armhf.img” it is not possible to alter the IPTABLES. I get error-messages. “apt-get” is not available any more, so “apt” has to used instead.
Is there any solution for IPTABLES ?