Analysis Lab on Raspberry Pi Cluster
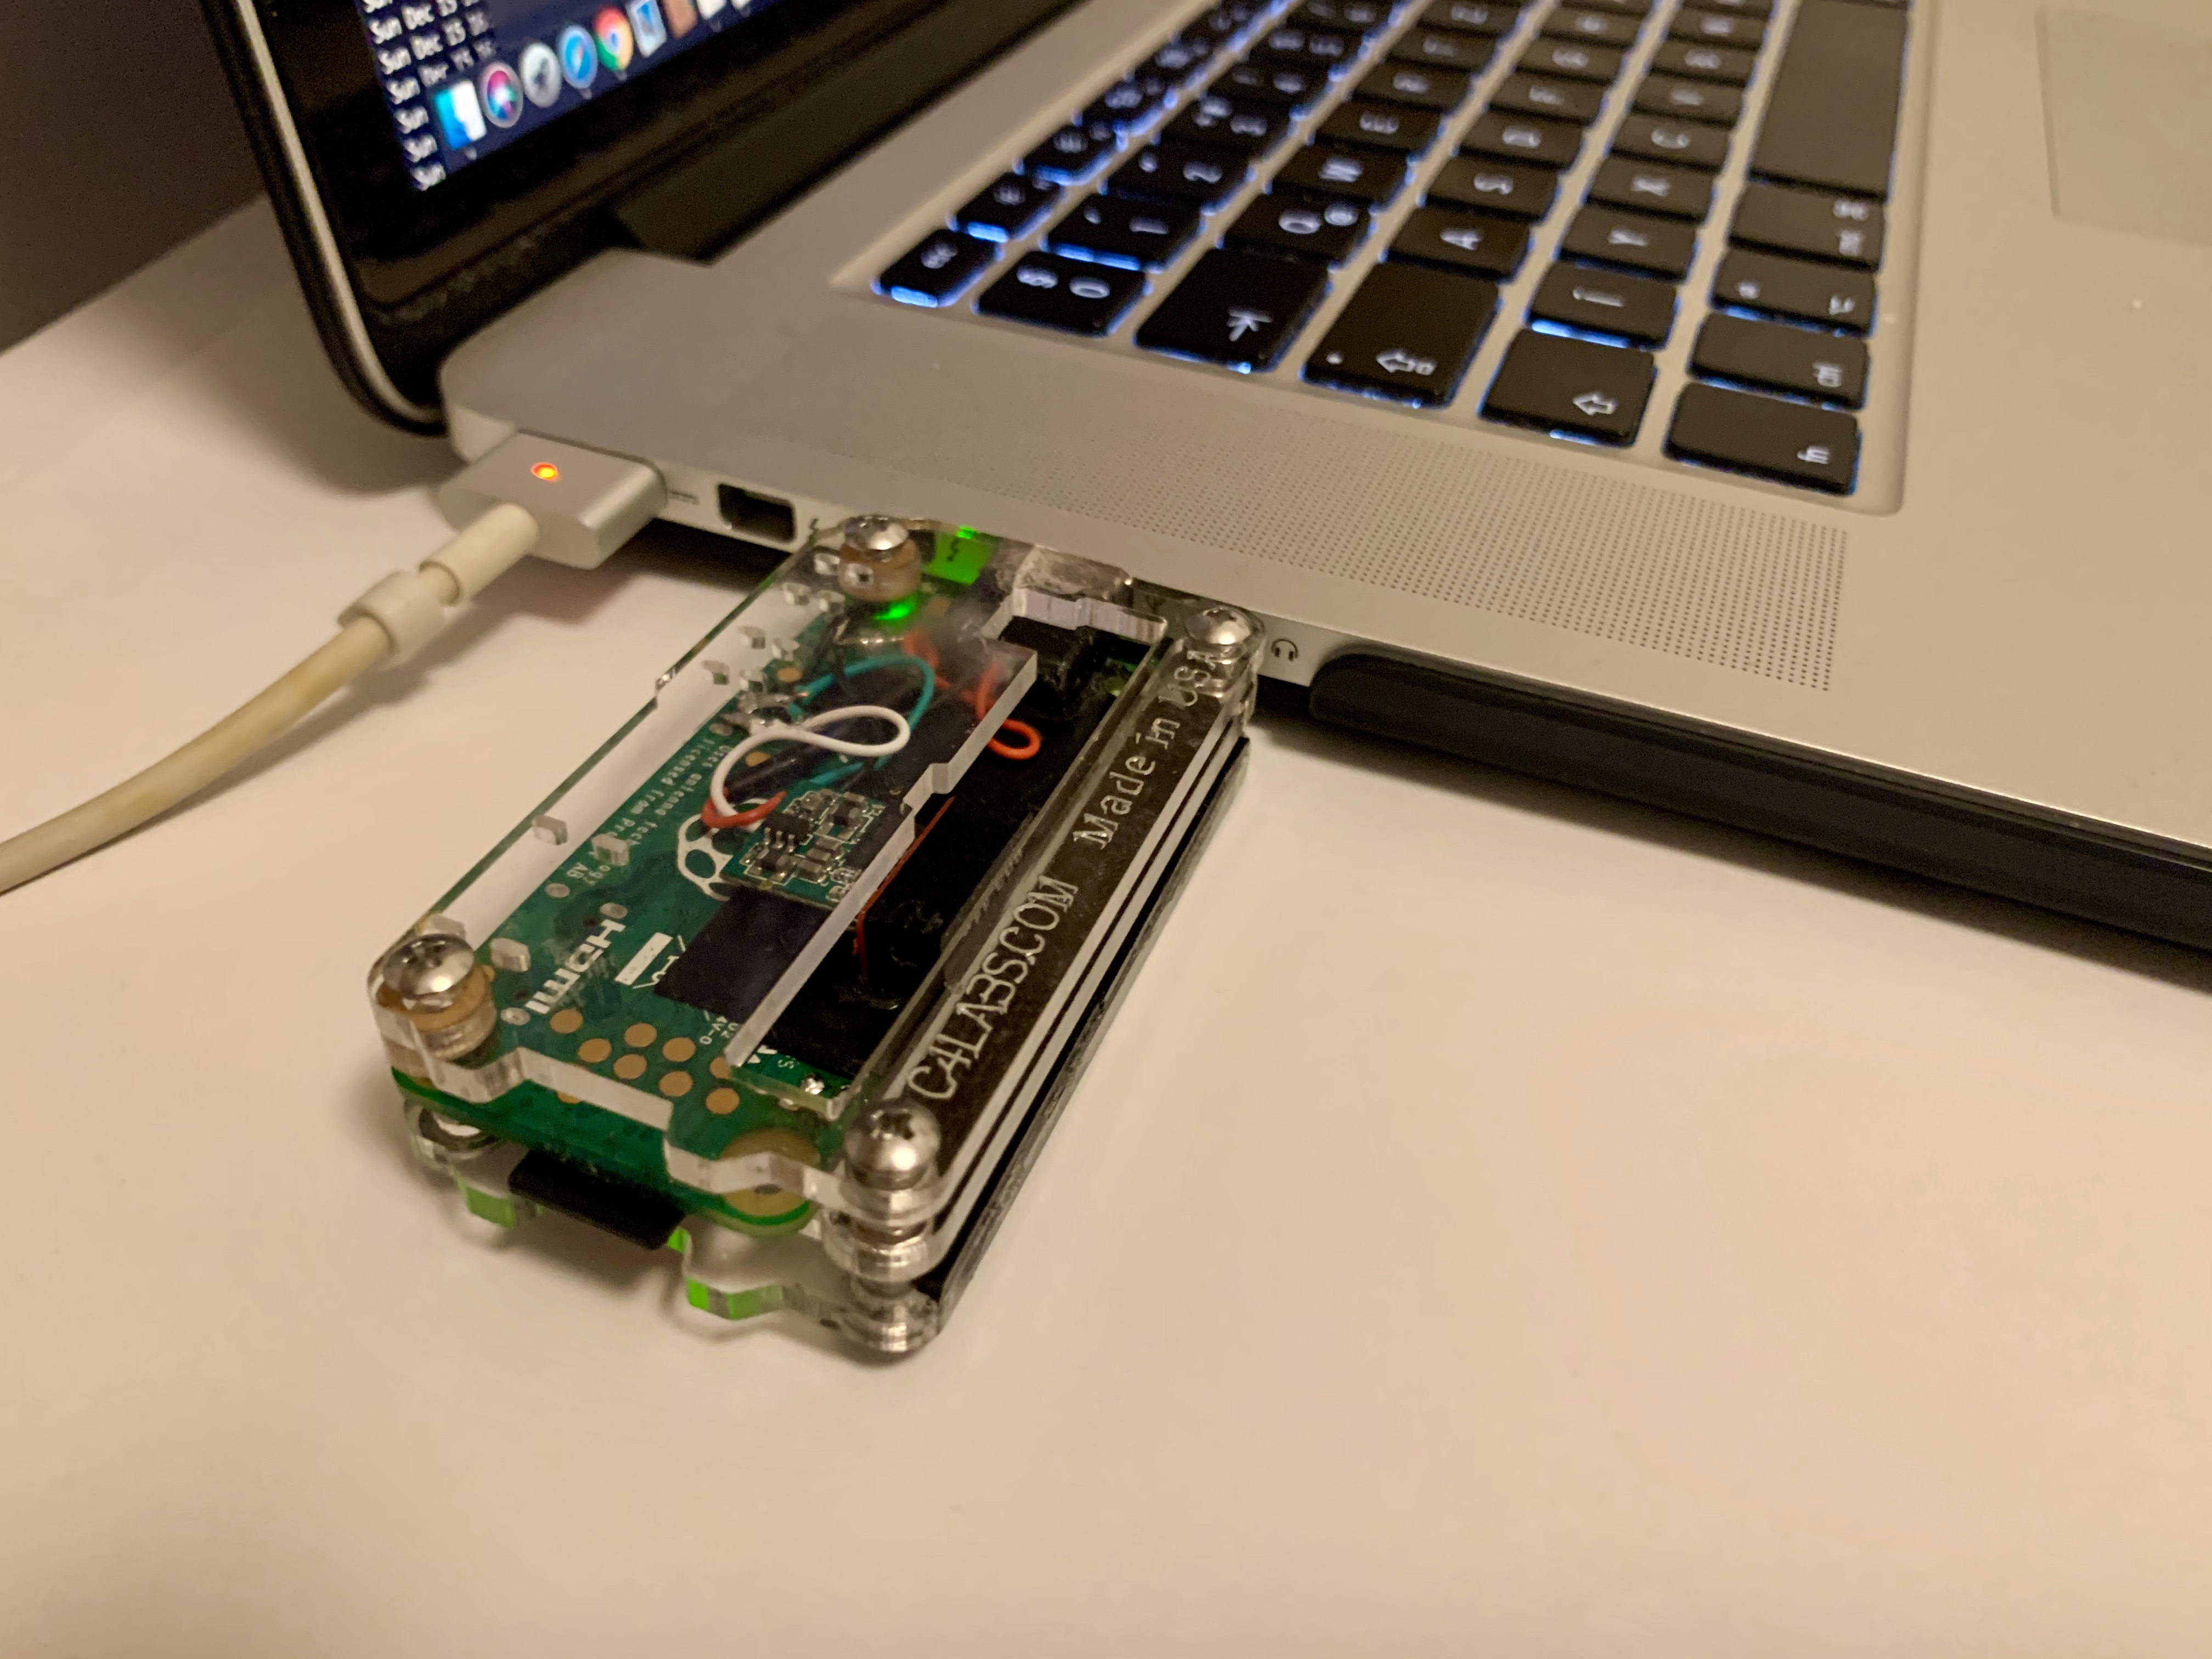
I built my own mini analysis lab to practice and learn something new. An environment that I can use remotely with any device (with RealVNC) and of course an install script to rebuild it quickly anytime.
I hope, it will be useful for others, who want to make their own.
I have learned a lot from the descriptions and solutions of others, you will find these links in the references as well.
The services are distributed as follows

Prerequisites
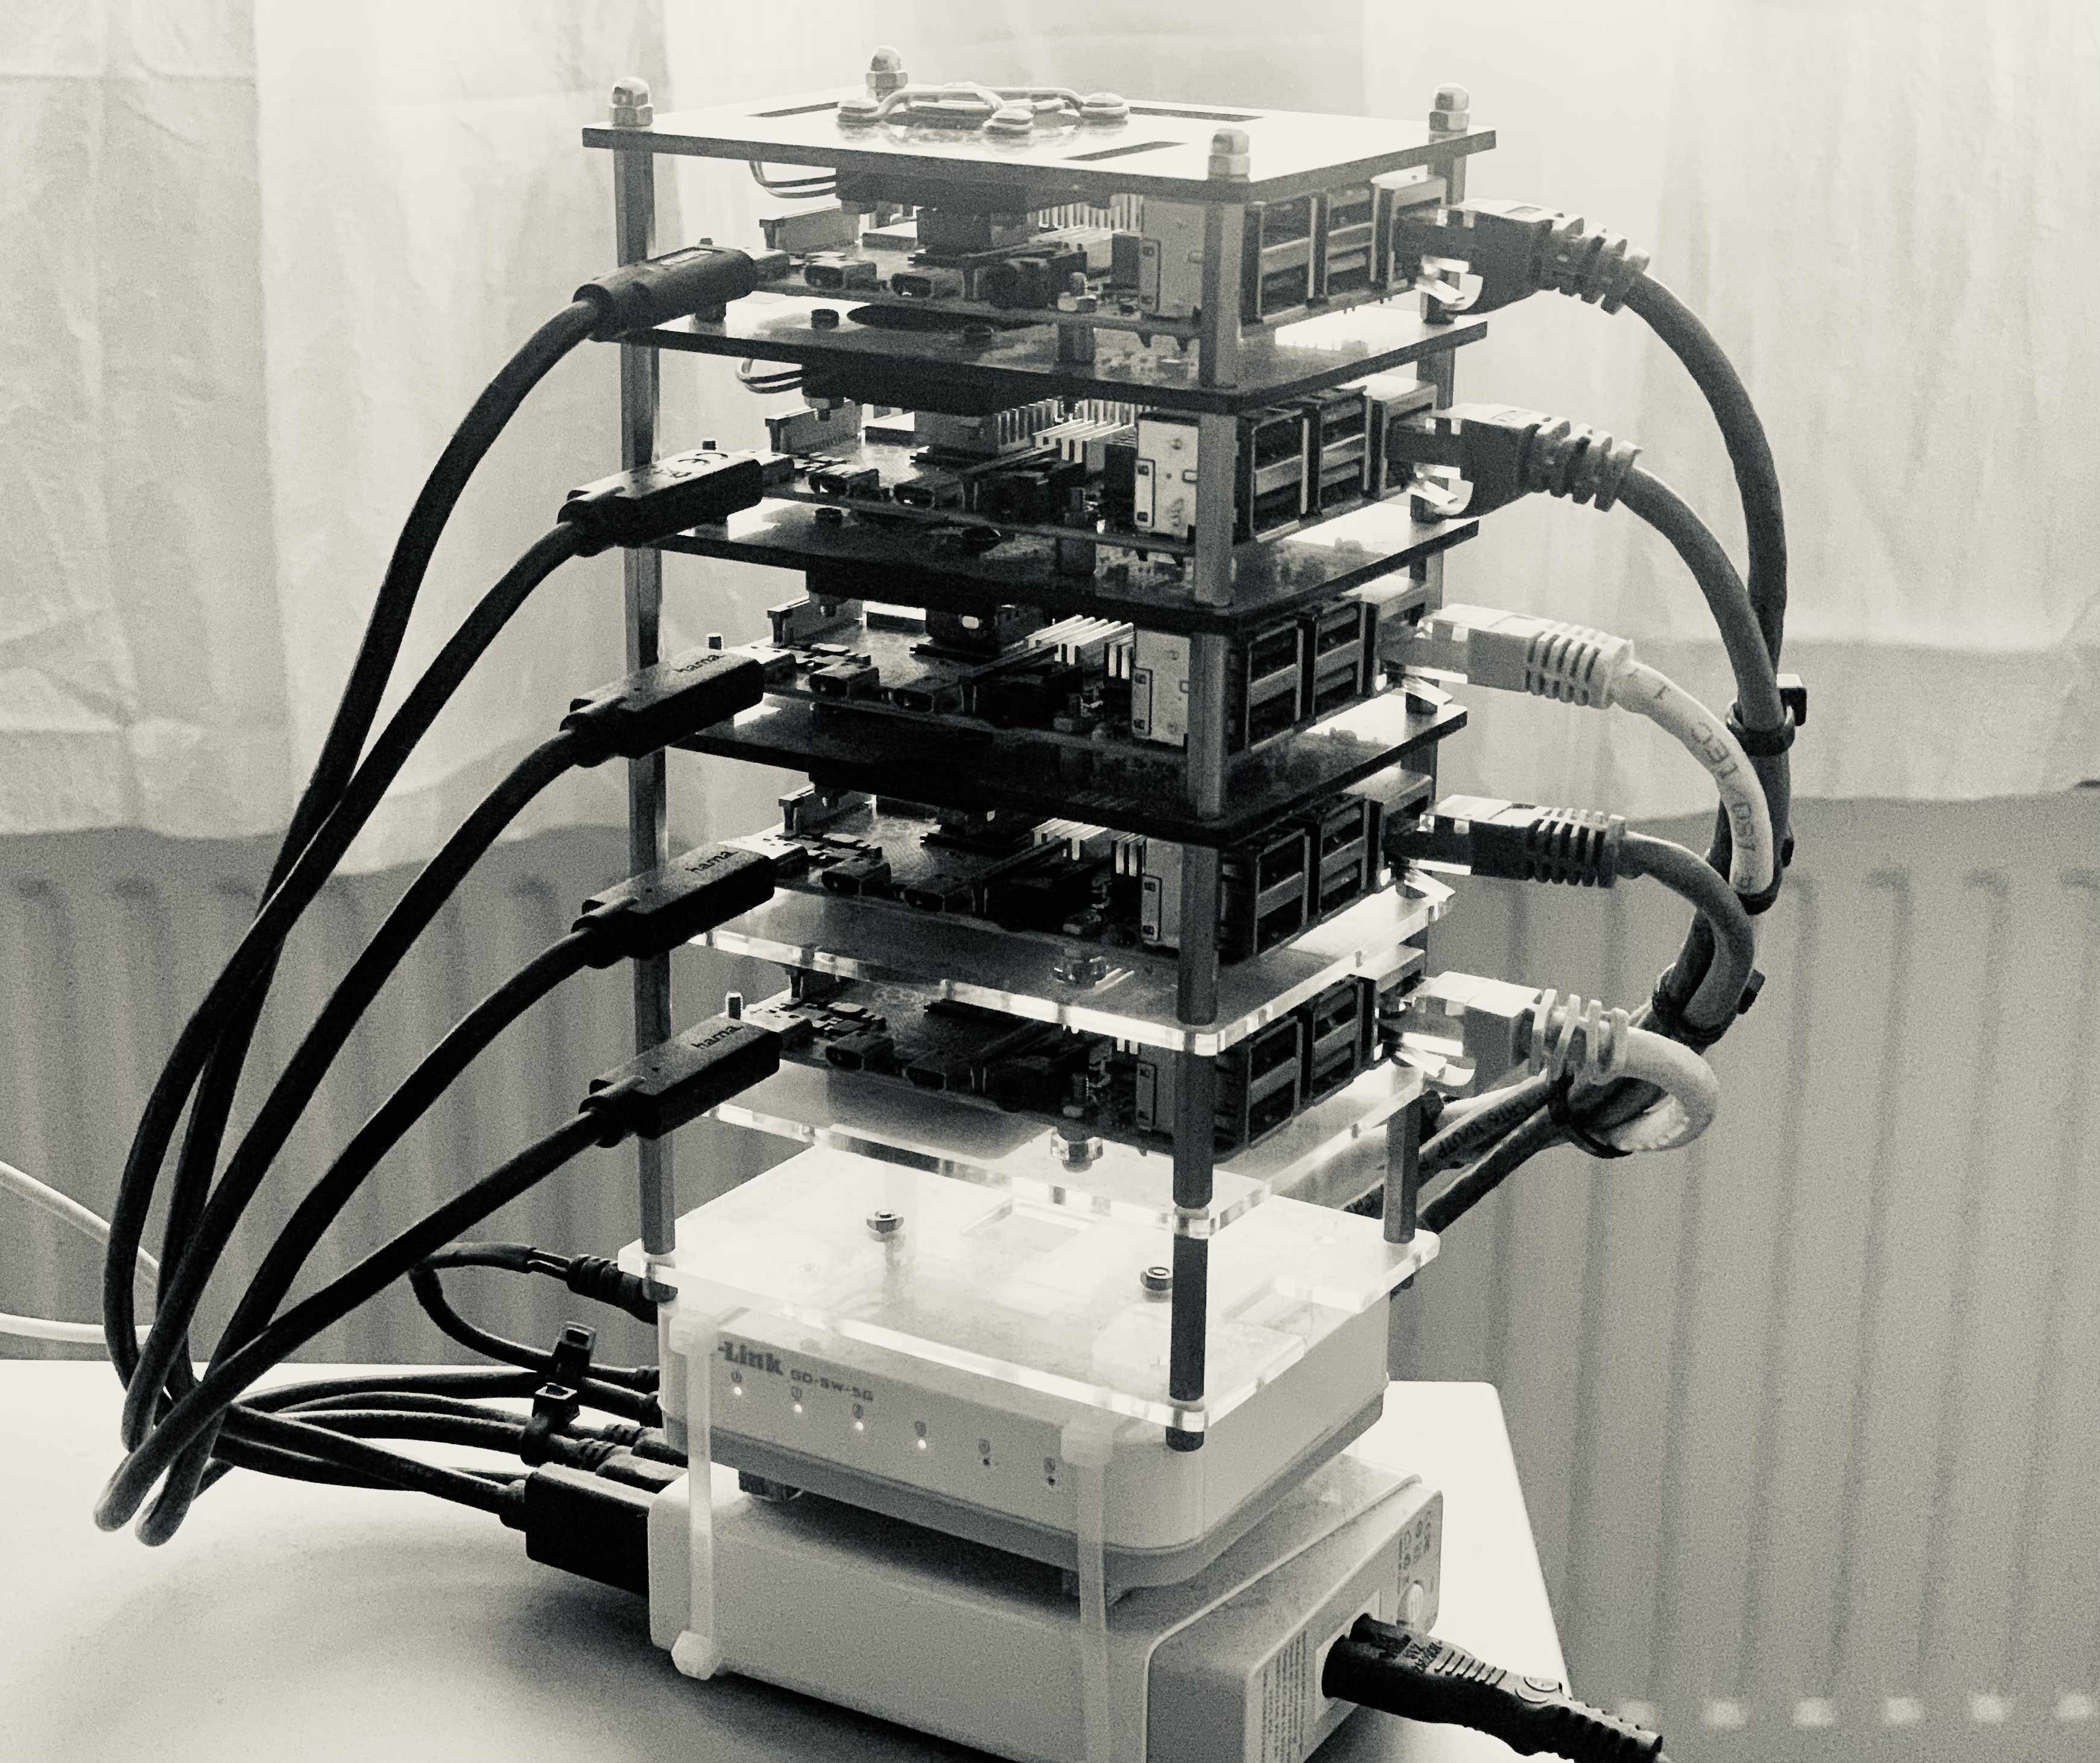
- 5 Raspberry Pi 4 Model B (4x4gb ram 1x8gb ram) (link)
- USB power adapter, 6 port Charger 60W (link)
- Gigabit switch (D-Link Ethernet Switch, 5 Port) (link)
- 5 USB-C cable (USB 3.1, 0.25 m) (link)
- 5 Cat6 0.25m Gigabit Ethernet cable (link)
- 5 Micro SD card (I used 5x SanDisk MicroSDXC Extreme 64GB) (link)
- Raspberry Pi cluster case with cooling fan and heatsink (link)

1. Install OS:
Raspberry Pi Imager (link) install the last version of Debian Buster for host
(Raspberry Pi OS Legacy with desktop)
Download Ubuntu Server 18.04 LTS for the Raspberry Pi 4 (ARM 64-bit) (link) image for cluster nodes
2. Setup the cluster host:
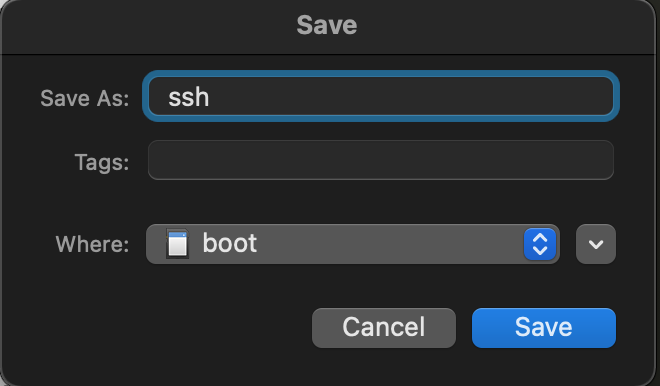
Setup wifi and enable ssh before insert sd card into raspberry pi.
Create empty file on /boot partition “ssh”
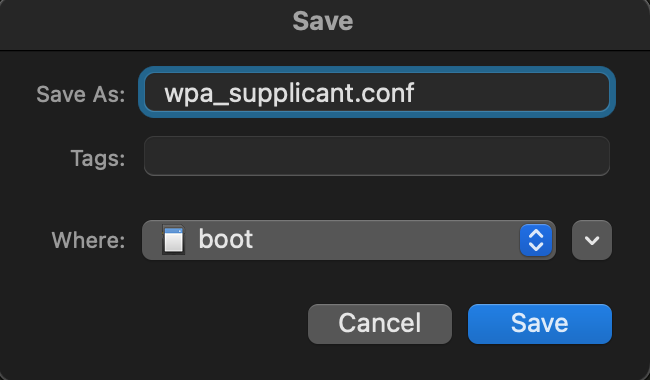
Create file on /boot partition “wpa_supplicant.conf”
ctrl_interface=DIR=/var/run/wpa_supplicant GROUP=netdev
update_config=1
country=NL
network={
ssid="SSID name"
psk="wifipass"
}
After you insert the sd card, you have to set up a few things.
sudo raspi-config# Enable vnc
# GPU memory 256
# auto login with desktop
# update
# set display for vnc
# reboot
change the hostname in /etc/hostname file:
# sudo nano /etc/hostname
clusterhost
add this lines to /etc/hosts file:
# sudo nano /etc/hosts
10.1.2.1 clusterhost
10.1.2.91 master
10.1.2.92 worker1
10.1.2.93 worker2
10.1.2.94 worker3
Then we can set up a separate subnet:
Step 1: create a file – sudo nano bridge.sh
copy this script to the file or download it: https://raw.githubusercontent.com/AndreiFAD/raspberry_pi_cluster/main/clusterhost_network_setup.sh
Step 2: Execute the script on your Pi like so.
sudo bash bridge.shStep 3: Reboot.
sudo reboot3. Preparation of nodes (network, user, authorized keys):
I made a script to set up the network for master and for workers. The differences are only the variables in the top and at script of master node the wlan0 is also configured.
https://raw.githubusercontent.com/AndreiFAD/raspberry_pi_cluster/main/master_node_preparation.sh
https://raw.githubusercontent.com/AndreiFAD/raspberry_pi_cluster/main/workers_node_preparation.sh
Don’t forget to change these lines for your setup with both of the scripts:
ipAddress="10.1.2.91"
hostAddress="master"
userName="pi"
userPass="passwd for pi"
and for master node wlan0 configuration:
echo '    wifis:'
echo '        wlan0:'
echo '            access-points:'
echo '                "<SSID>":'
echo '                    password: "<SSID passwd>"'
After you run it, you can give a new password to pi user:
sudo passwd piTo change your shell use the chsh command
sudo su pi
chsh -s /bin/bash pi
If you want to run ‘sudo’ command without entering a password:
run: sudo visudo
and add this line:
pi ALL=(ALL) NOPASSWD: ALLGenerate public/private rsa key pair for user pi in all cluster nodes:
sudo su pi
ssh-keygen -t rsa
Copy the public keys to the authorized keys list:
cat .ssh/id_rsa.pub >> .ssh/authorized_keysAnd copy to all nodes:
cat ~/.ssh/id_rsa.pub | ssh clusterhost 'cat >> .ssh/authorized_keys'
cat ~/.ssh/id_rsa.pub | ssh master 'cat >> .ssh/authorized_keys'
cat ~/.ssh/id_rsa.pub | ssh worker1 'cat >> .ssh/authorized_keys'
cat ~/.ssh/id_rsa.pub | ssh worker2 'cat >> .ssh/authorized_keys'
cat ~/.ssh/id_rsa.pub | ssh worker3 'cat >> .ssh/authorized_keys'
You should do this process in each cluster node. In the end, all nodes will have all public keys in their lists. This is important — not having the key would prevent machine-to-machine communication after.
4. Install script for all node
This will be installed on every node:
Python3 libraries
Jupyter notebook and lab
Nodejs 12
Hadoop-3.2.1
Spark-2.4.5
Zookeeper-3.6.3
Kafka-2.13
Apache-hive-3.1.2
This will be installed only on the “master” node:
Postgresql 10
Jupyter kernels:
### Scala kernel
### Python3 kernel
### Sqlite3 kernel
### R kernel
### Julia kernel
### Bash kernel
You should run this script on each cluster node, the worker node will run for 30-40 min/node, master 3-3,5h, but it depends on your network.
https://raw.githubusercontent.com/AndreiFAD/raspberry_pi_cluster/main/install_script.sh
It’s important, if you are using different host names, you have to change it here as well.
If you are done with all the nodes you have to reboot them.
5. First run on the master node:
### Initiating the Hive metastore database schema:
cd /opt/hive/bin
./schematool -dbType postgres -initSchema

### it is necessary to format the data space and start the cluster:
hdfs namenode -format -force

### start services Hadoop and Spark:
start-dfs.sh
start-yarn.sh

cd /opt/spark
./sbin/start-all.sh

### I also disabled the safe mode. To do this, after finishing the installation run:
hdfs dfsadmin -safemode leave

### Create Hive data warehouse on Hadoop filesystem:
hdfs dfs -mkdir -p /user/hive/warehouse
hdfs dfs -chmod g+w /user/hive/warehouse
hdfs dfs -mkdir -p /tmp
hdfs dfs -chmod g+w /tmp
hdfs dfs -chmod -R 755 /tmp

### You should start the hive-metastore first:
/opt/hive/bin/hive –service metastore > /dev/null 2>&1 &
### After initializing the hive-metastore, you should start the hiveserver2:
/opt/hive/bin/hive –service hiveserver2 > /dev/null 2>&1 &
Hadoop Datanode Information http://master:8088/ Hadoop Cluster Information http://master:9870/ Spark Information http://master:8080/ Hive Information http://master:10002/
go to folder –> $ cd notebooksAdd password for jupyter, so you don’t have to use token:
jupyter notebook passwordYou can start jupyter with this command:
/opt/spark/bin/pyspark –master spark://master:7077Next time you can use this starting script (Zookeeper and Kafka service start commands are included)
https://raw.githubusercontent.com/AndreiFAD/raspberry_pi_cluster/main/cluster_start.sh
6. And you are ready 🙂
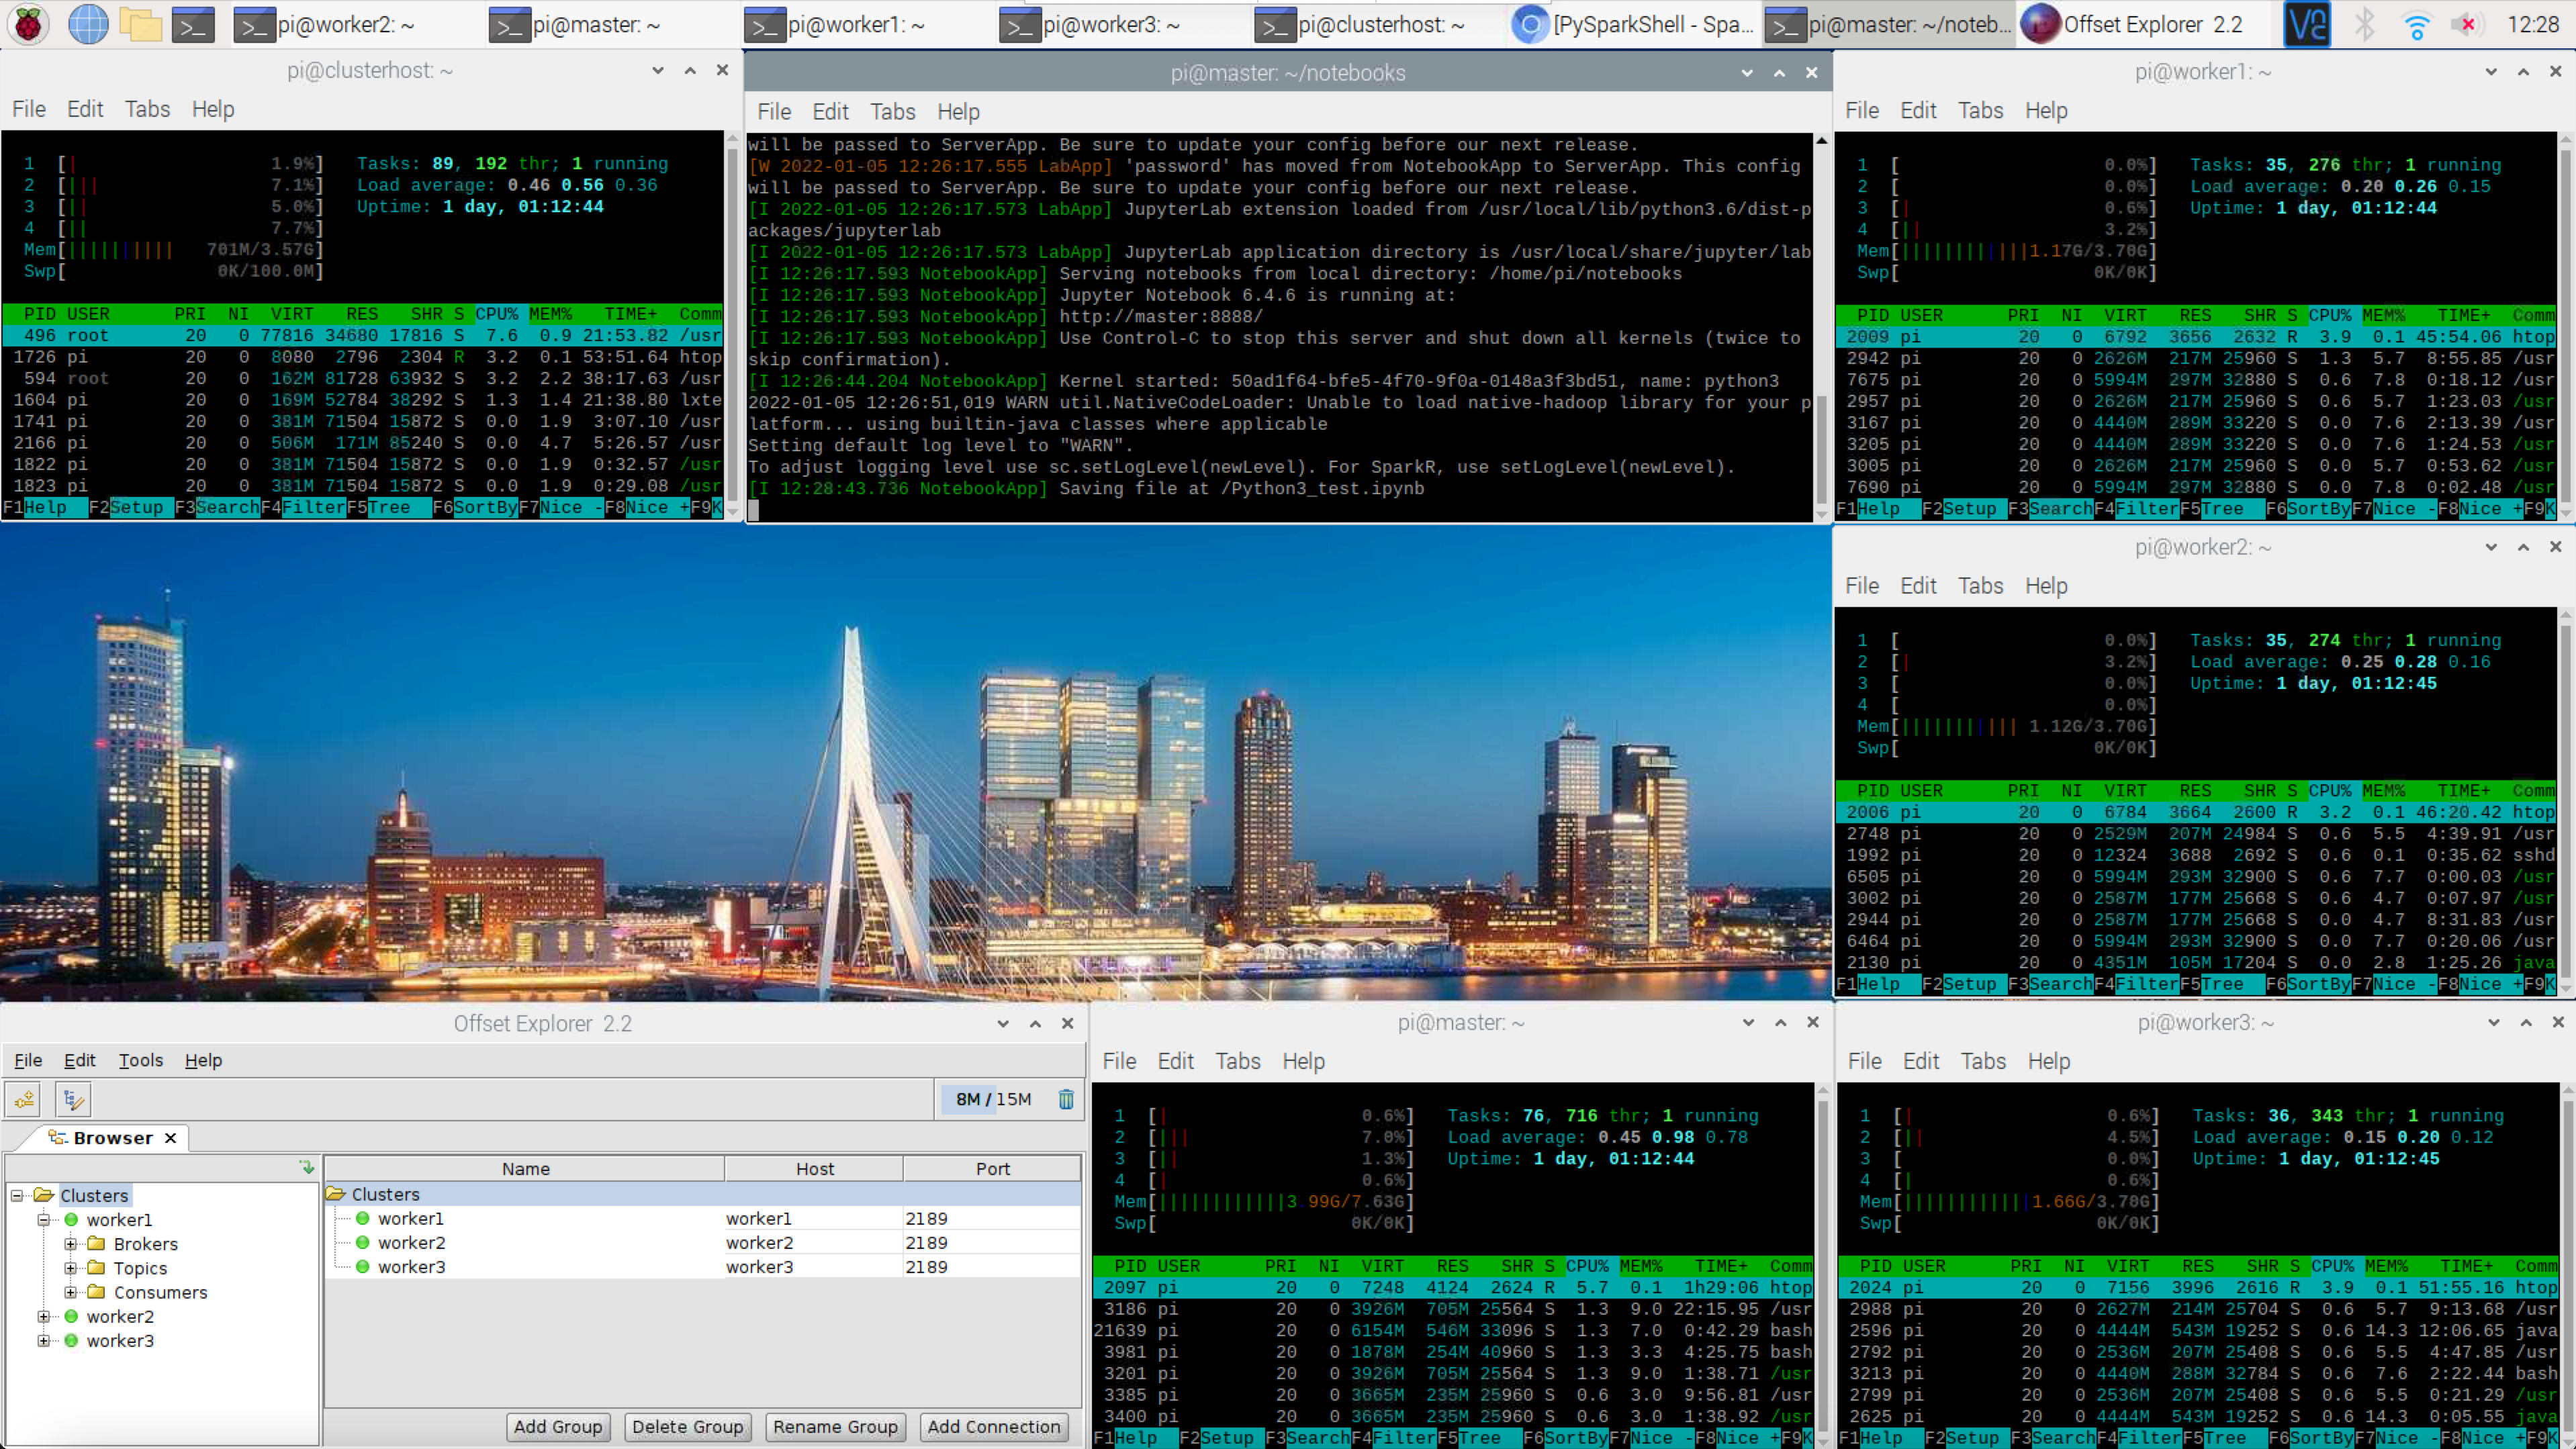
All node load activity and UI Tool for Kafka
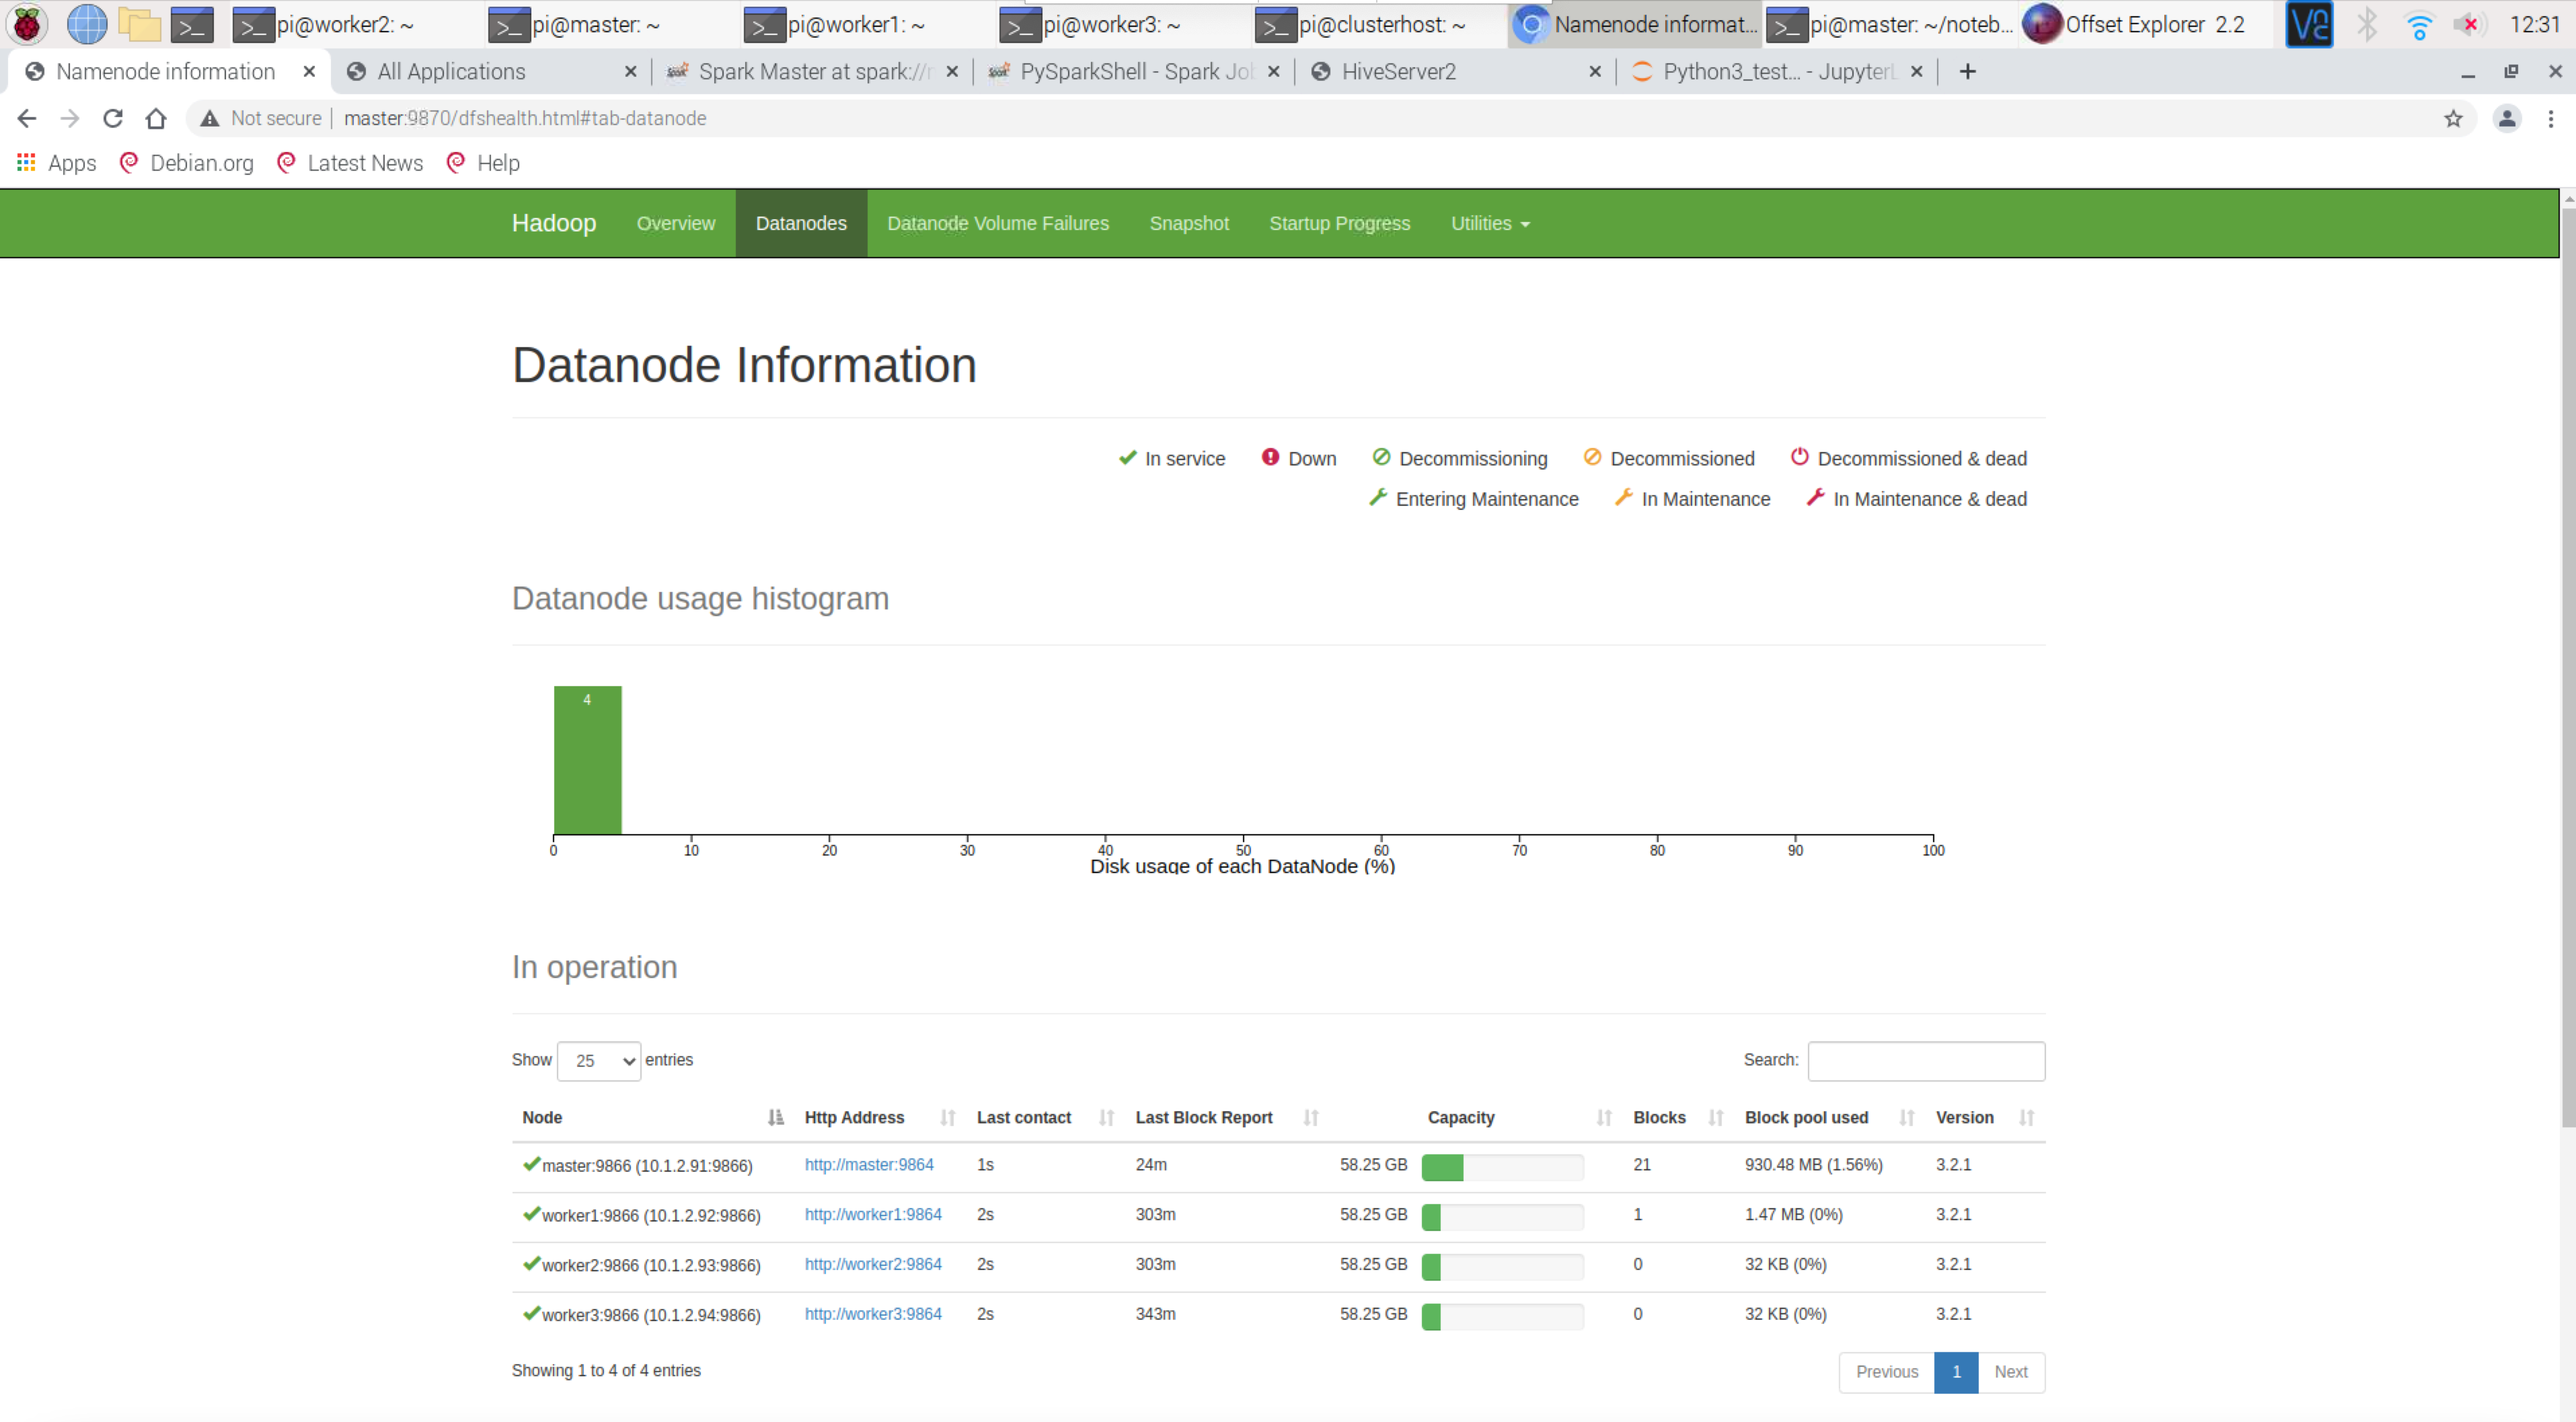
Hadoop Datanode Information – http://master:8088/
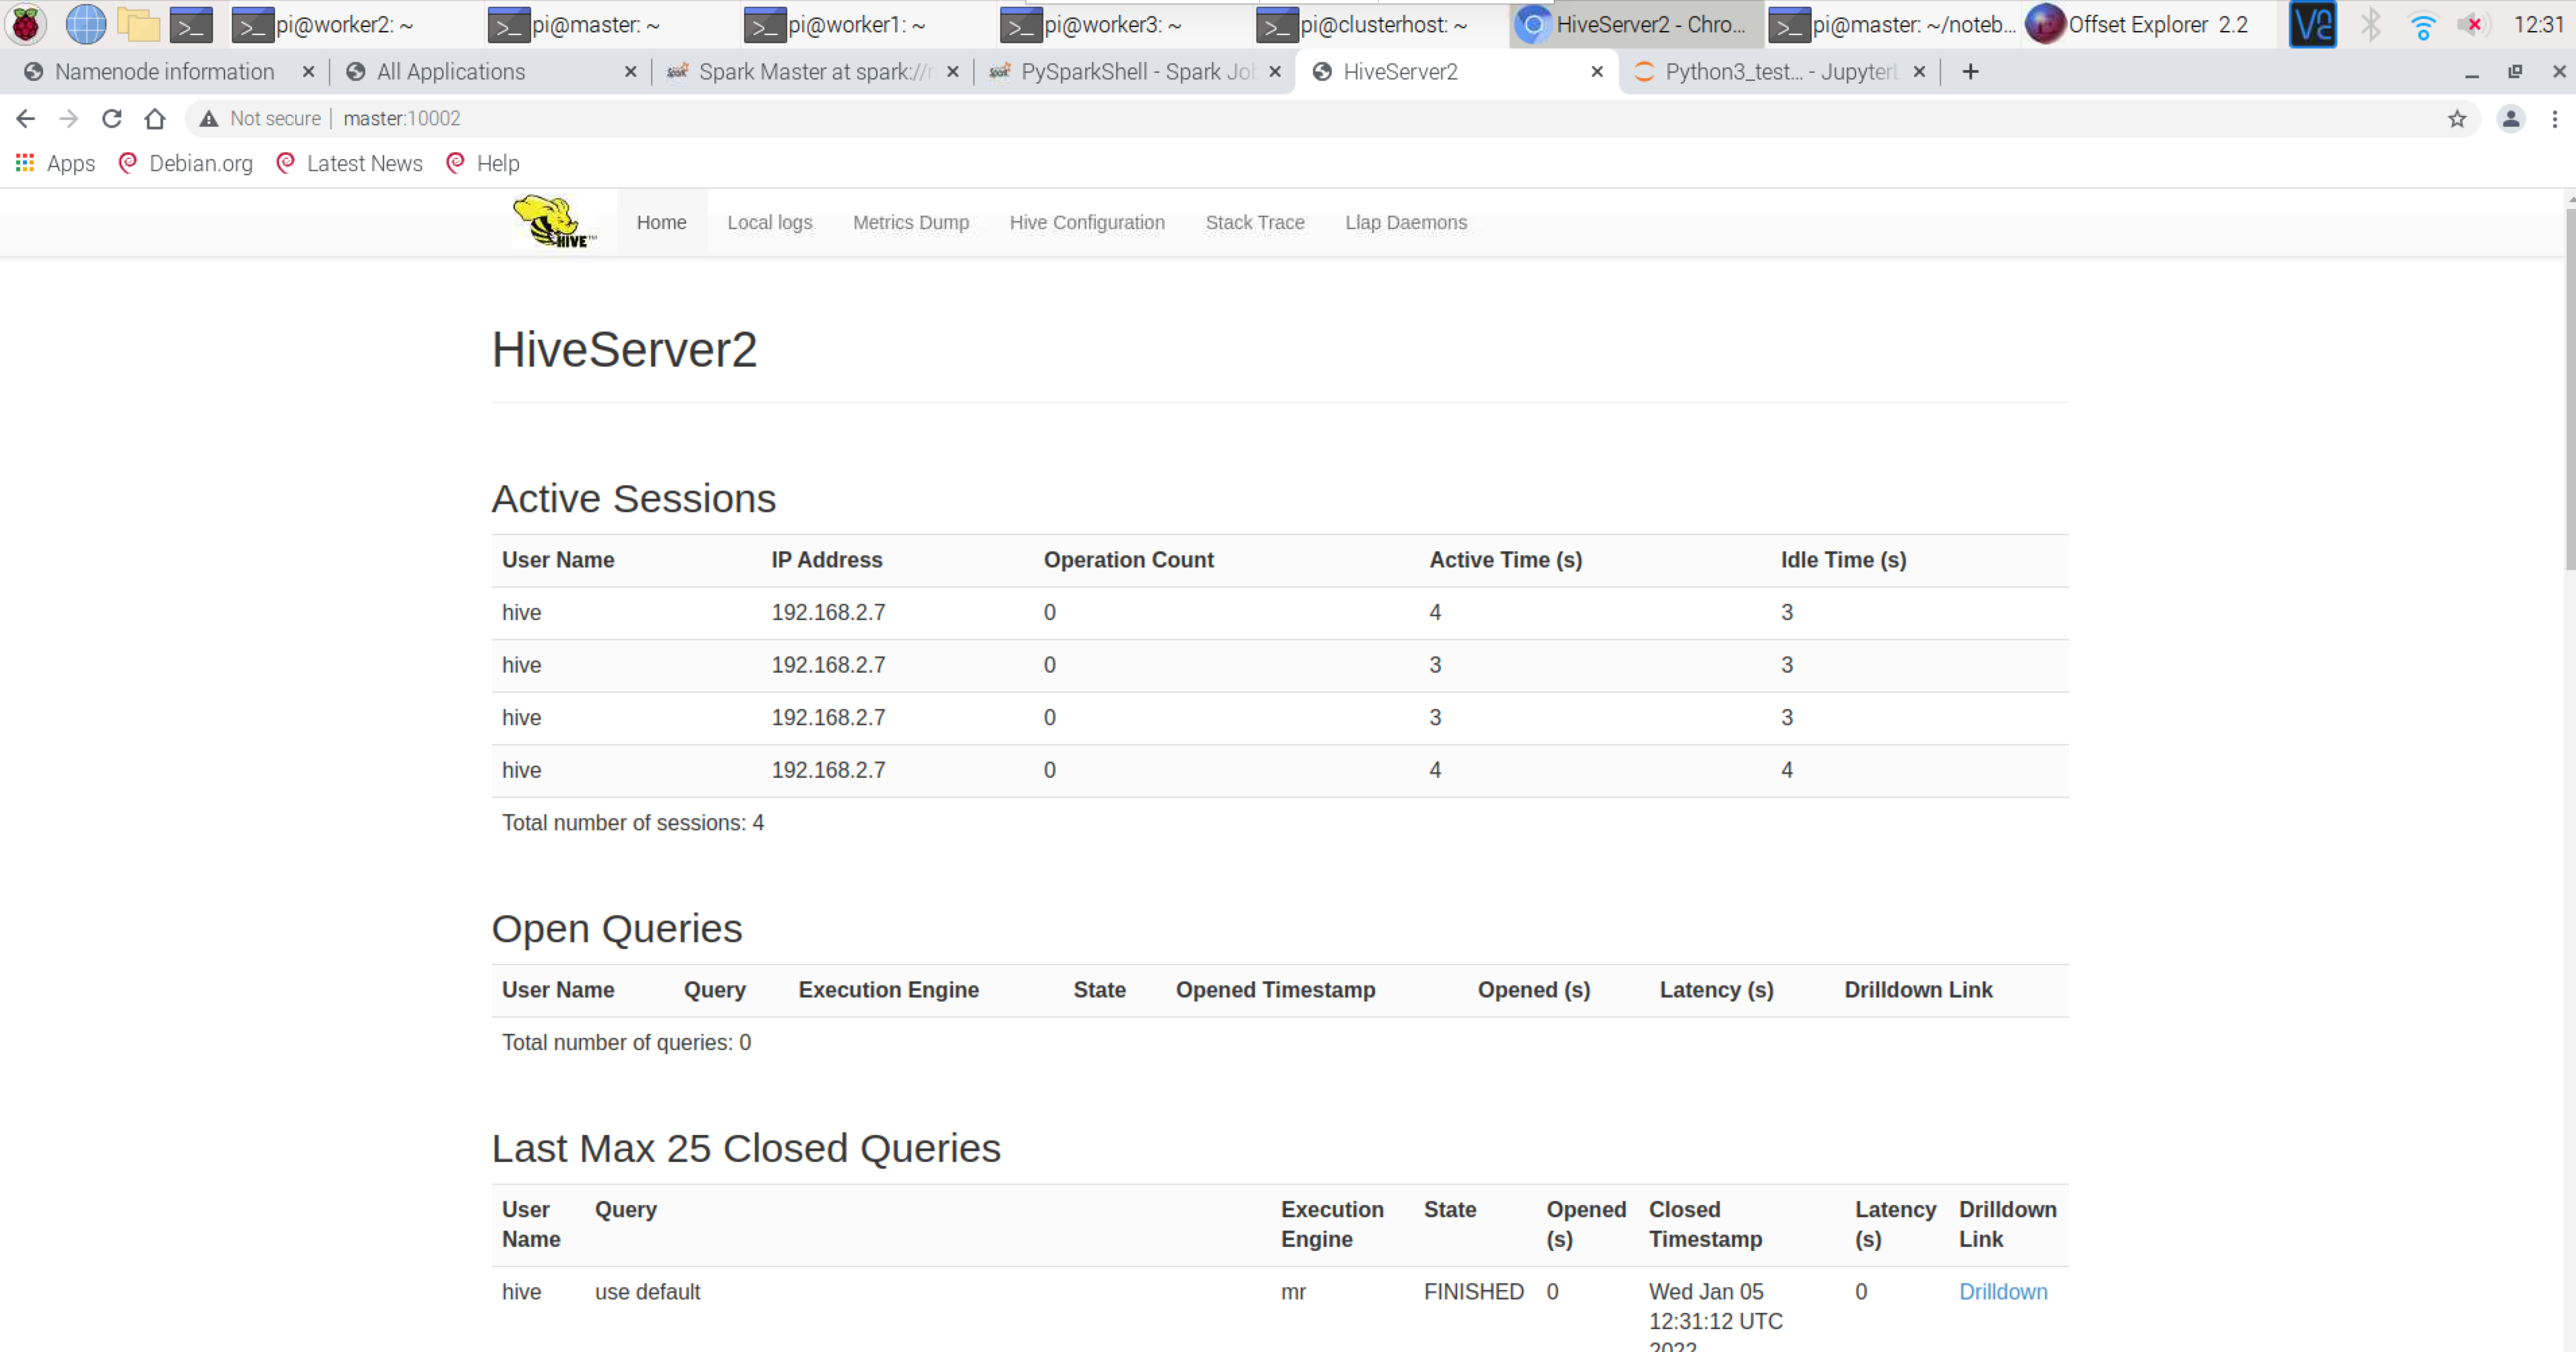
Hive Server Information – http://master:10002/
Spark Cluster Information – http://master:8080/

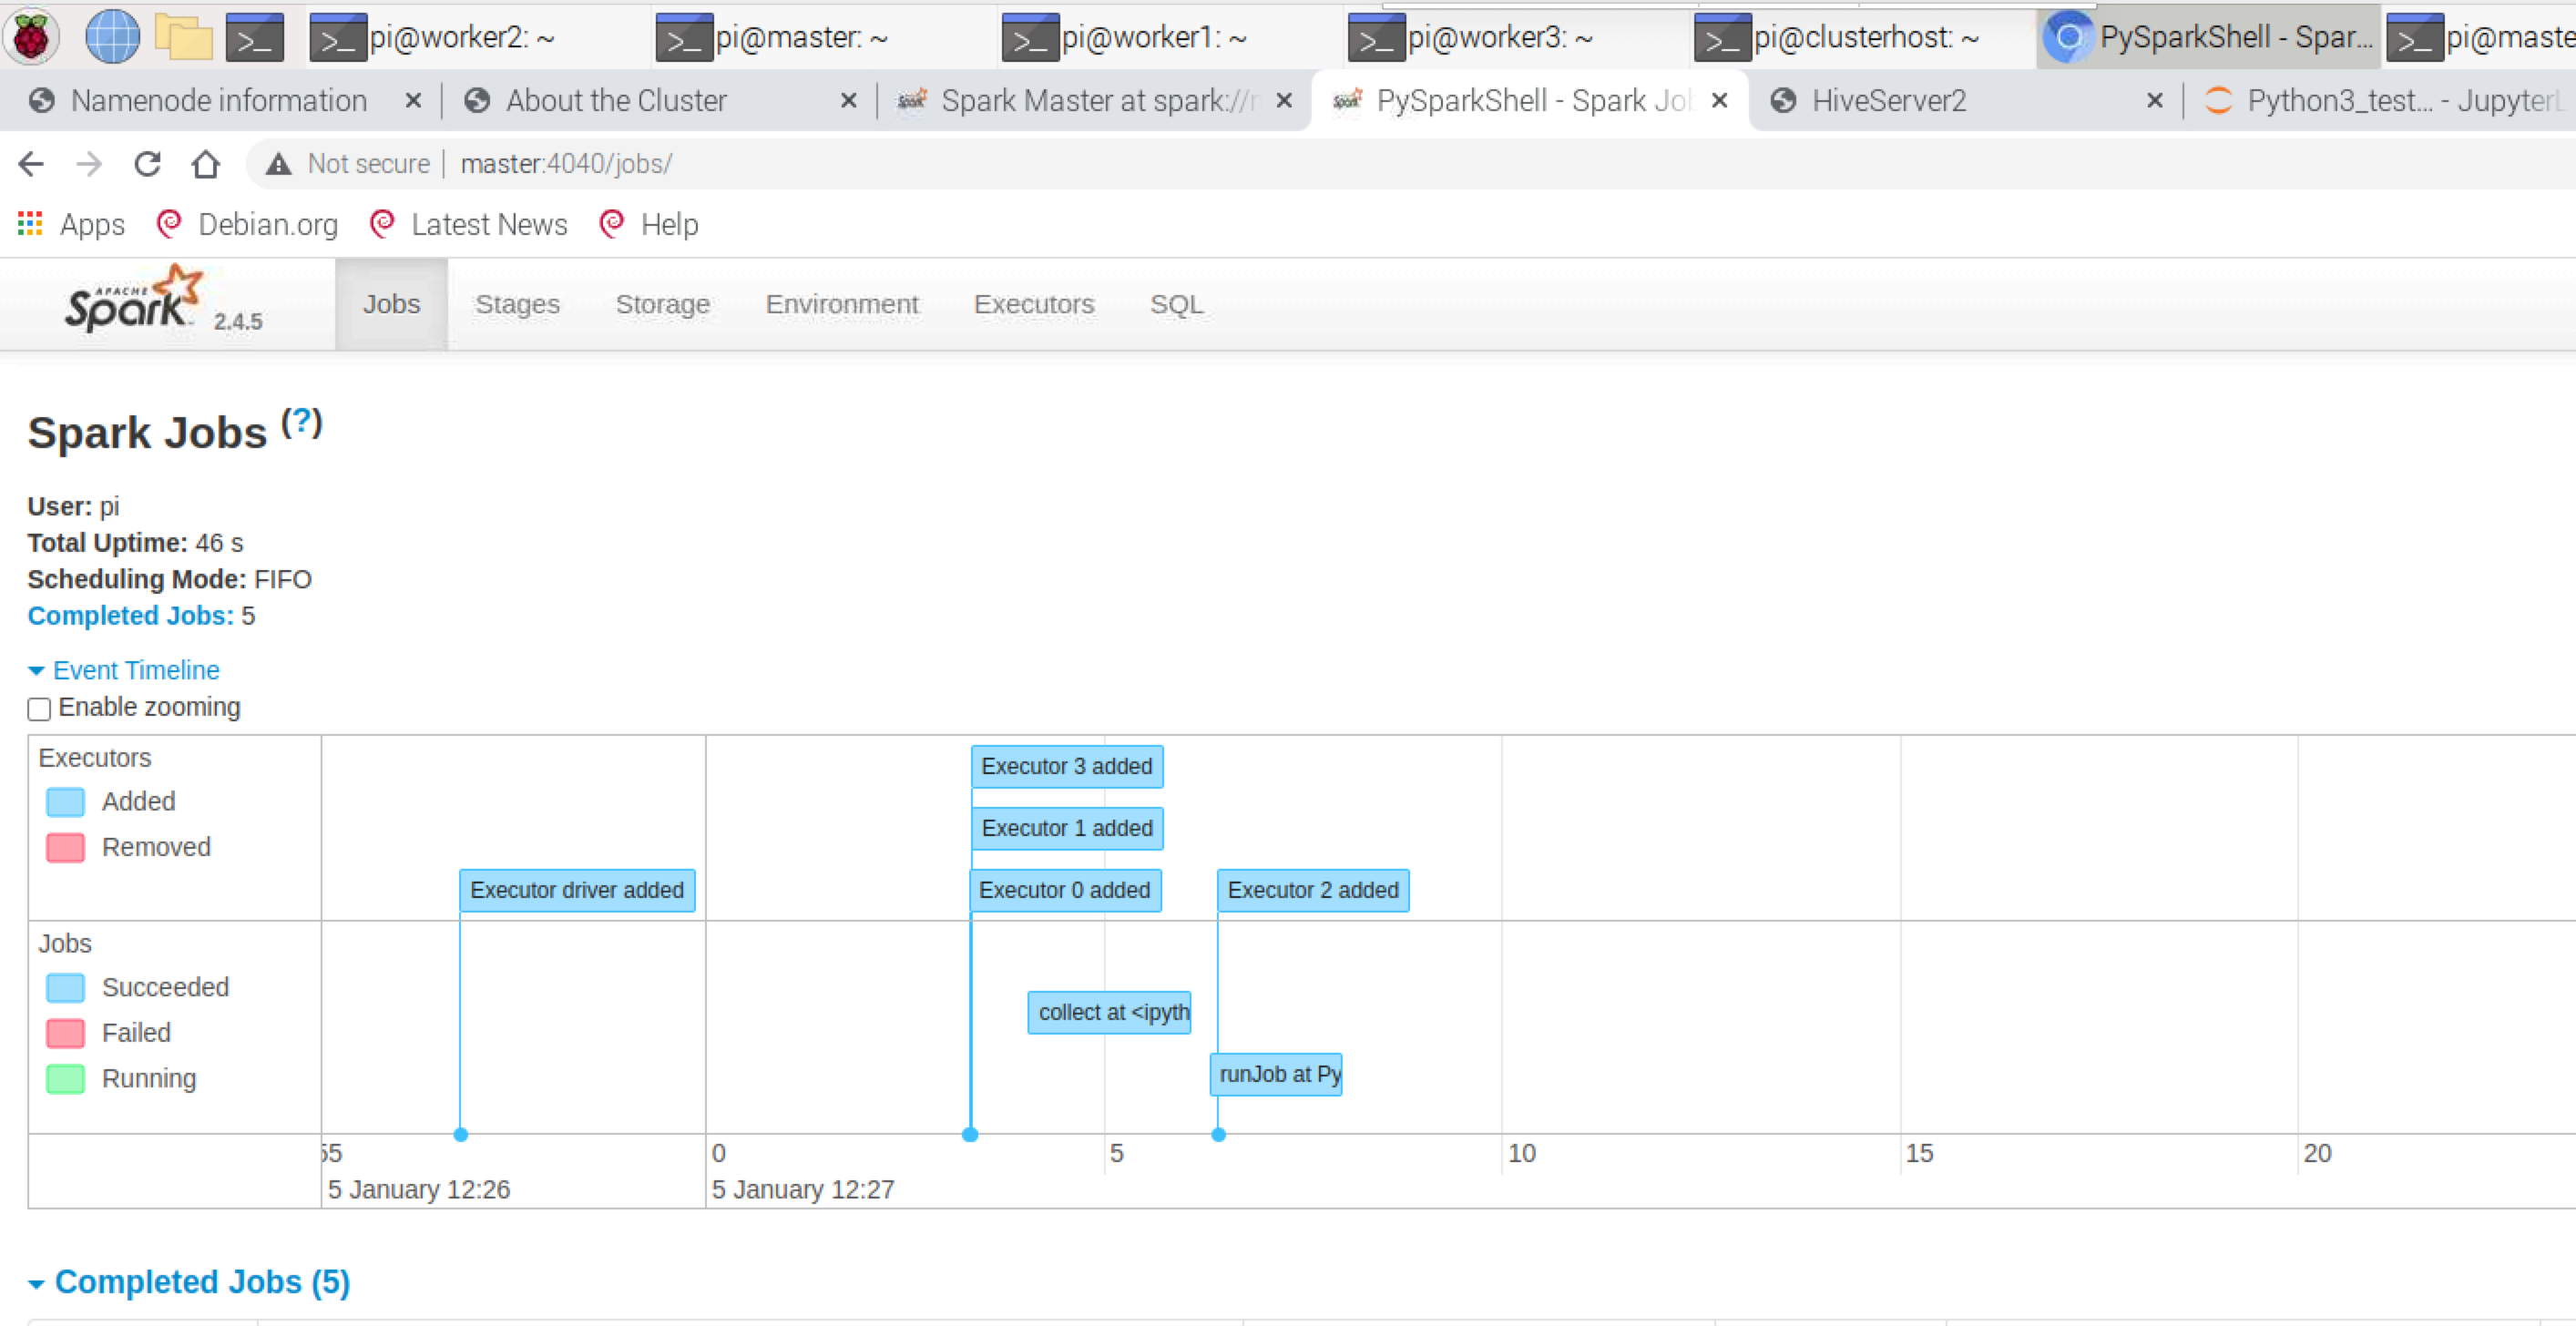
Representation of Job Execution on Spark – http://master:4040/jobs
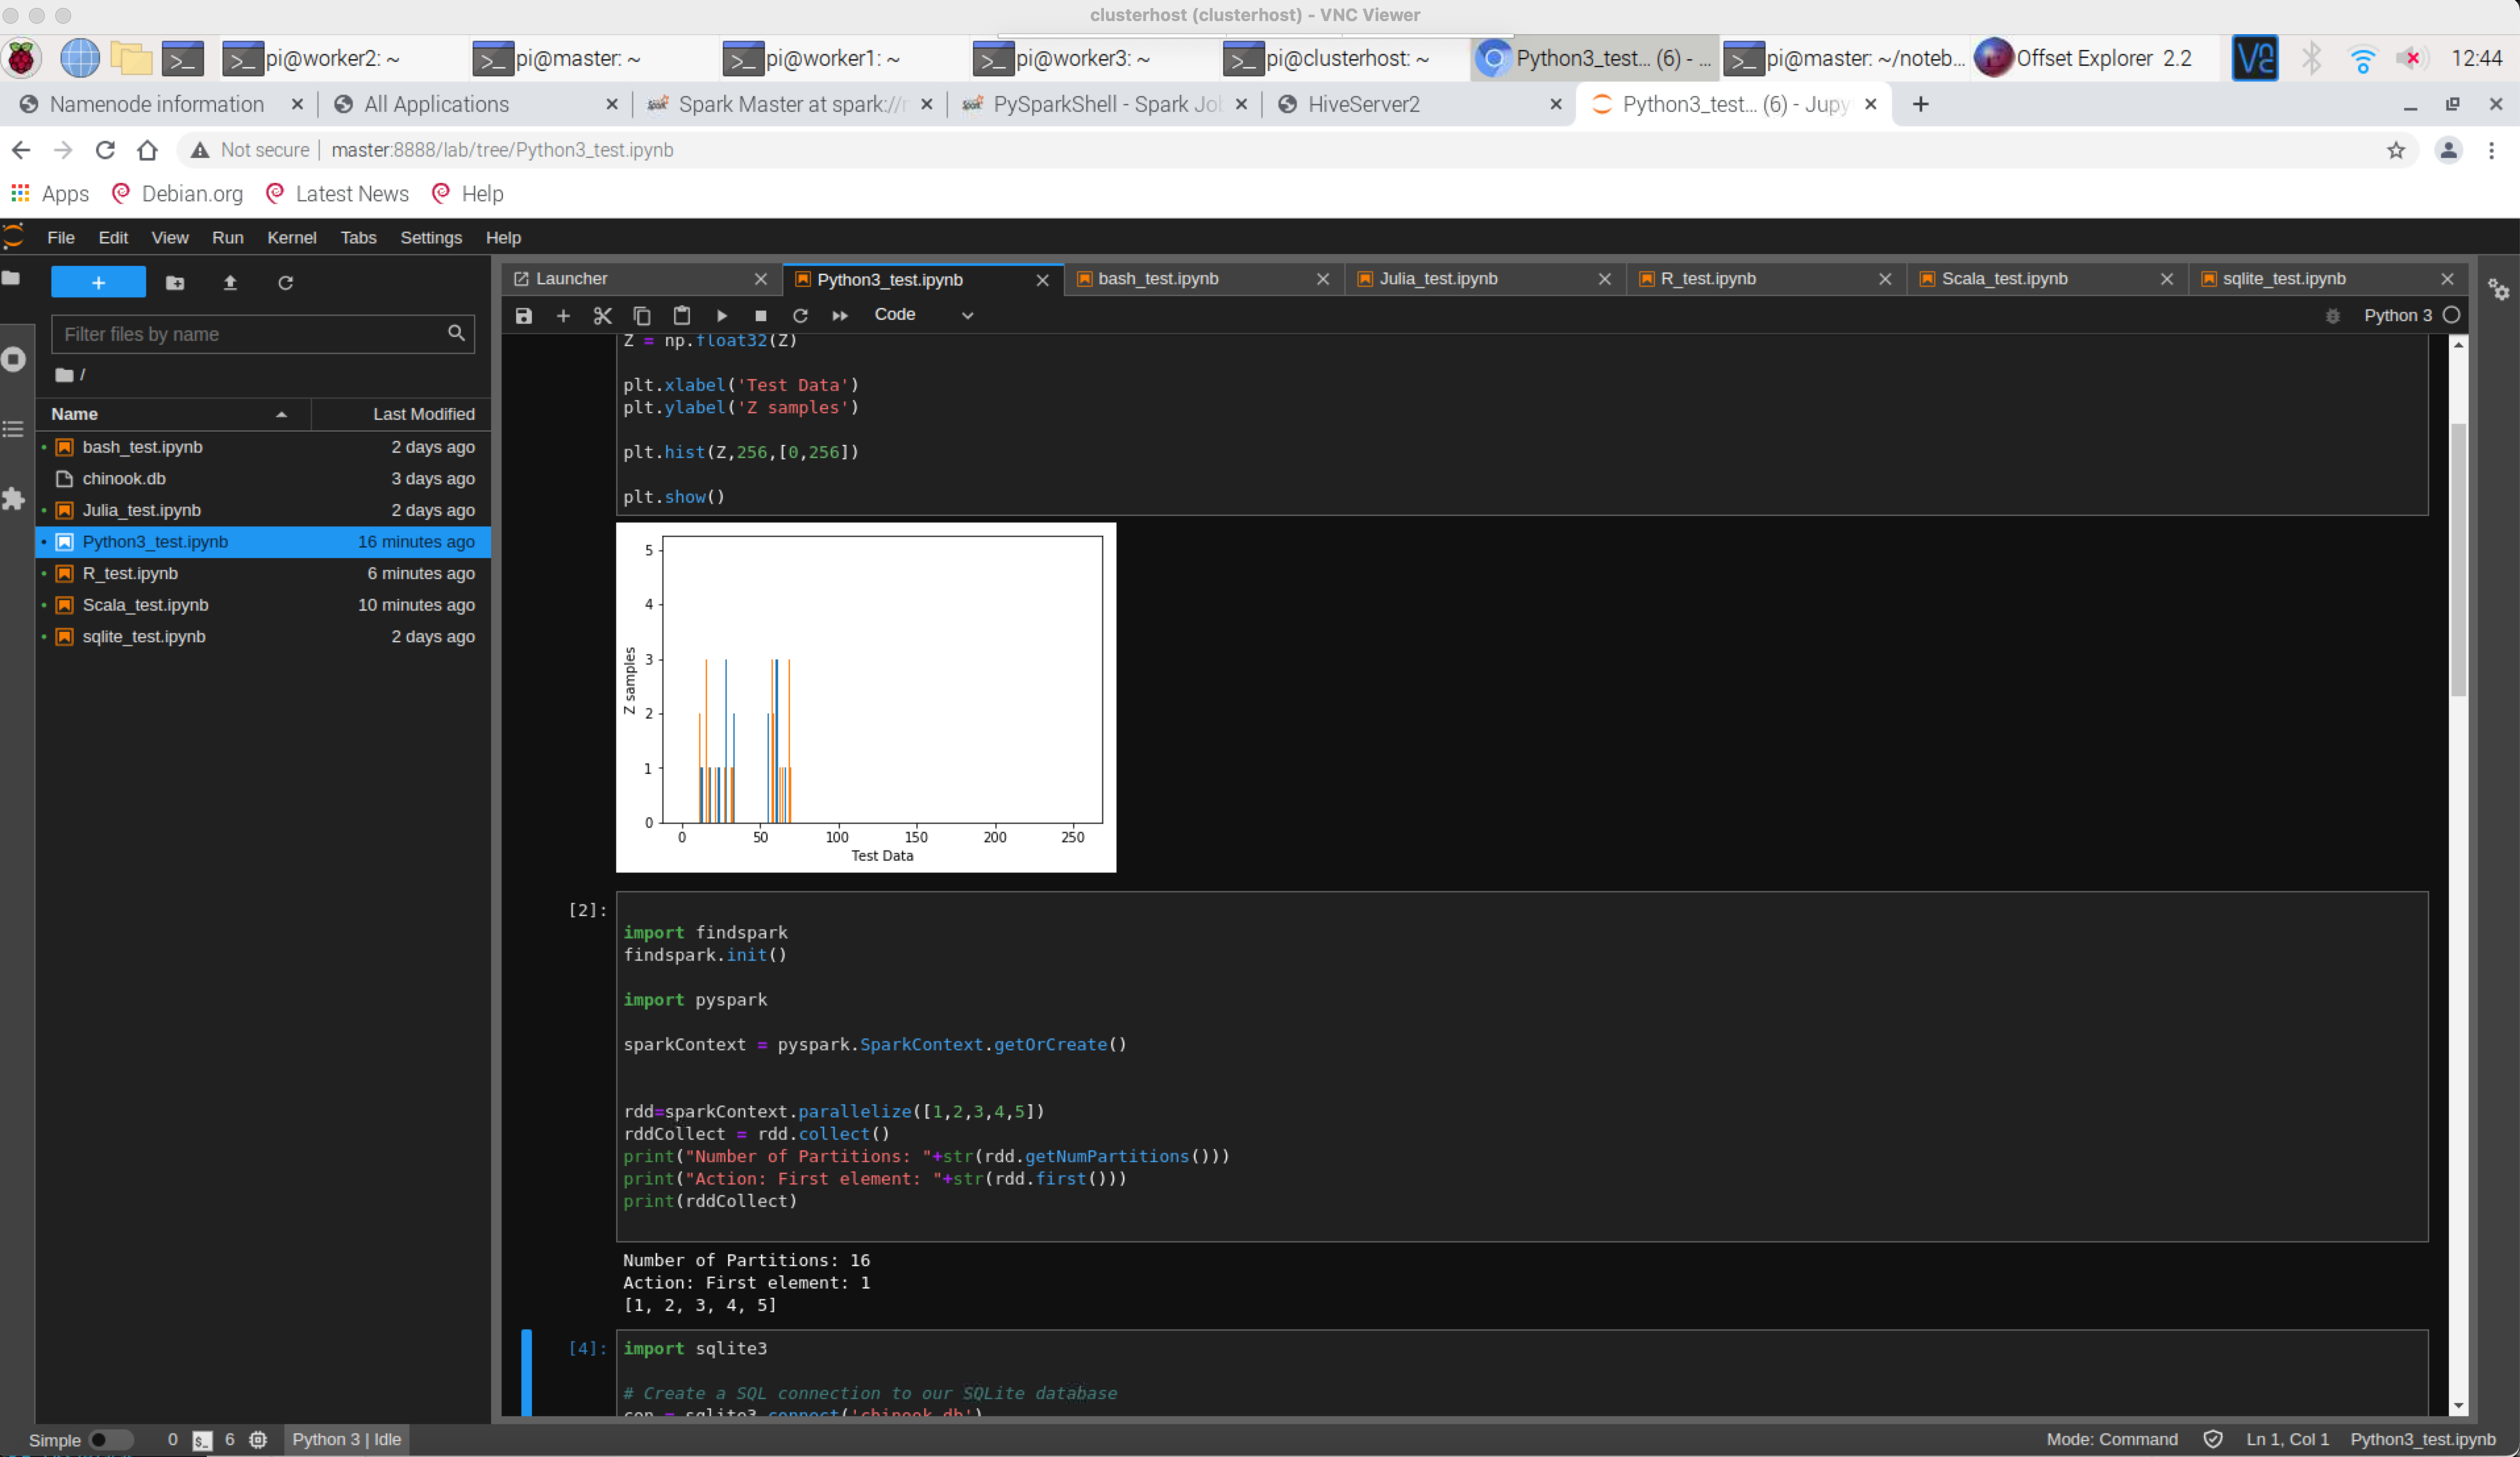
Jupyter lab notebooks http://master:8888/lab
7. References:
https://nycdatascience.com/blog/student-works/raspberrypi3_bigdatacluster/1/
https://towardsdatascience.com/assembling-a-personal-data-science-big-data-laboratory-in-a-raspberry-pi-4-or-vms-cluster-ff37759cb2ec
https://github.com/kleinee/jns
https://github.com/ptaranti/RaspberryPiCluster
https://docs.kyso.io/guides/sql-interface-within-jupyterlab
https://kontext.tech/column/hadoop/303/hiveserver2-cannot-connect-to-hive-metastore-resolutionsworkarounds
https://github.com/sirCamp/tensorflow-kernels
https://www.digitalocean.com/community/tutorials/how-to-create-a-sudo-user-on-ubuntu-quickstart
https://www.shellcheck.net
https://pypi.org/project/spylon-kernel/
https://www.linkedin.com/pulse/interfacing-r-from-python-3-jupyter-notebook-jared-stufft
https://people.duke.edu/~ccc14/sta-663/WrappingRLibraries.html
https://onlineguwahati.com/install-and-configuration-of-apache-hive-3-1-2-on-multi-node-hadoop-3-2-0-cluster-with-mysql-for-hive-metastore/
https://linuxconfig.org/building-a-raspberry-pi-cluster-part-iv-monitoring
https://www.codeproject.com/Articles/1394735/A-4-Stack-rPI-Cluster-with-WiFi-Ethernet-Bridging
https://www.ralfweinbrecher.de/post/multiple-wifi-networks-on-raspberrypi/
https://willhaley.com/blog/raspberry-pi-wifi-ethernet-bridge/